It’s been a while since my last post. You may or may not have noticed, but there was this big virus thing and then the whole world turned upside down for a moment, so its been a bit chaotic recently. Luckily for me, however, I live on a farm so the time at ‘home’ gave me the chance to really settle onto the land and practice a few new skills.
The farm has a small coppice and they have allowed me to work on it for the last two years. Even though it is heavily overstood (lots of big trees above) there are still some very nice trees to work with.
However, because it’s a restoration project we always end up with big piles of brash.
The question of what to do with the brash is usually answered with a chipper or a fire. However, it has always seemed like a waste of material to me and throughout my apprenticeship I’ve been interested in other uses for it.
This year I thought I’d have a go at making a ‘rustic’* fence with it. Many of the branches were not good enough for pea sticks or bean poles but were still straight enough and long enough to be able to weave with once the side branches had been removed.


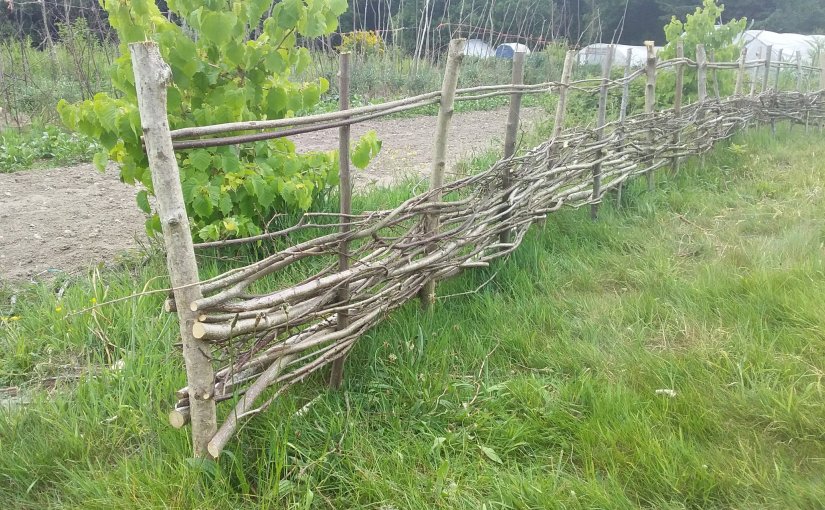
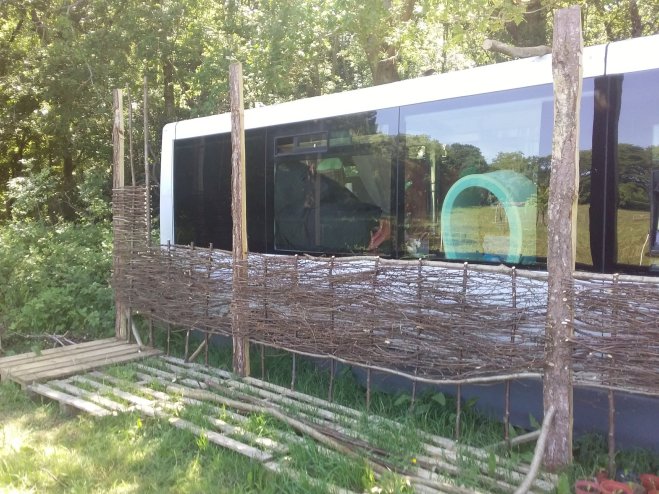
Two fences have been made on the farm over the last two months. One to seperate the football pitch from the growing beds and one to help my big white bus blend into the background in its new temporary spot on the field.
The first fence needed to be sturdy so I put stakes in the ground, about 4ft long (1ft in the ground) and 1 1/2 feet apart, then screwed in a rail at the bottom to hold them all together. This rail also holds the weaved material off the ground so that the brambles can be easily cleared around the bottom of the fence. The long bits were weaved and then the fence was finished with some binder quality lengths to create a top rail design.
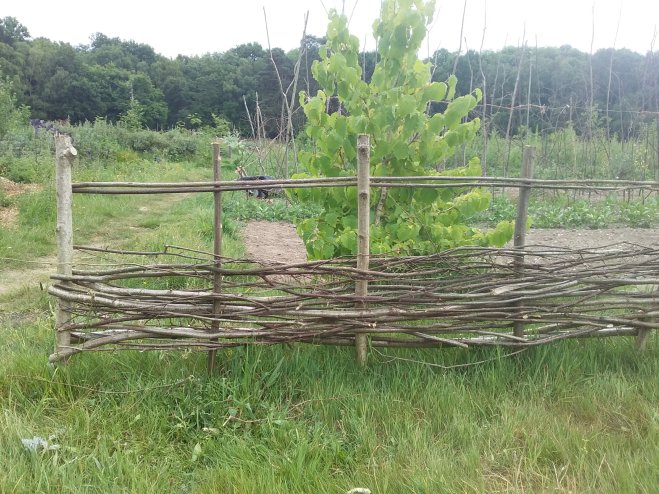
The second fence didn’t need to be as sturdy but did need to cover the white parts of the bus so in this case I used the more brashy ends of the branches to create a thicker screen. I took two or three branches and squished them so they made an elongated shape and weaved them together, alternating the direction of the weave every two lengths. This made a lovely bushy screen that still had the delicate dried buds attached, making a lovely design feature.
I’m very grateful to one of my sponsor businesses, The Stick Smith, for teaching me the basics of willow weaving on a large scale. We did several garden fences when I was working with Dave and I picked up how to create an even and thick weave and finish off the job nicely with a little pruning.
My next fencing project is for a community project in London where I will be fencing off an area of fruit trees. If your ever down at the Lordship Rec in North London come and check it out!
*Top Tip: ‘Rustic’ can be applied to anything that looks a bit rough but is charming because of its roughness.
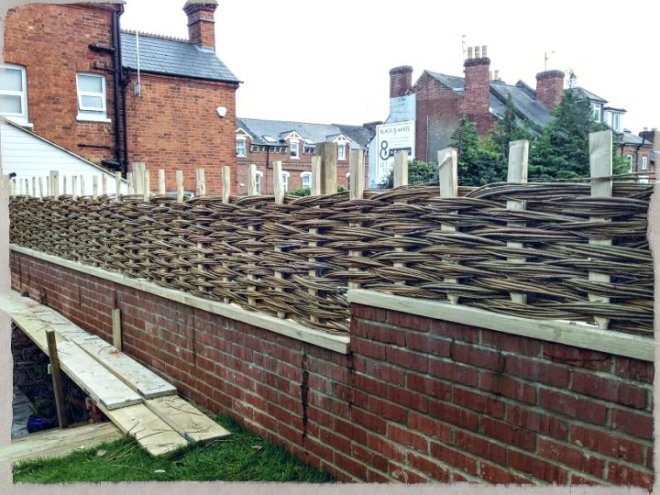
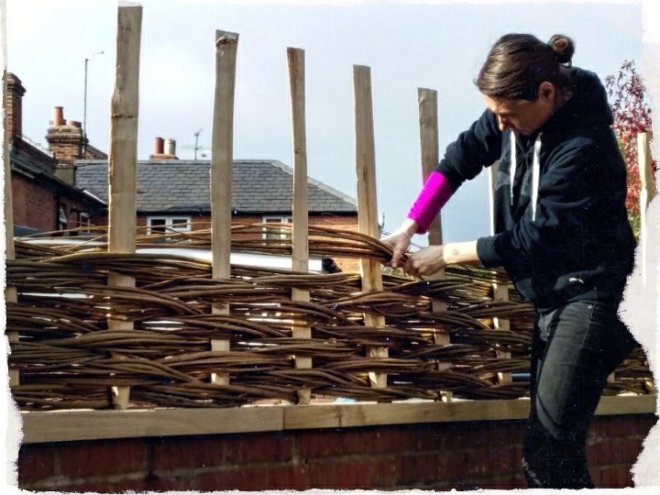 Today I had a chance to work on a willow in-situ hurdle. The fence was about 10mtrs long topping a small brick wall. My new mentor,