It’s been a while since my last post. You may or may not have noticed, but there was this big virus thing and then the whole world turned upside down for a moment, so its been a bit chaotic recently. Luckily for me, however, I live on a farm so the time at ‘home’ gave me the chance to really settle onto the land and practice a few new skills.
The farm has a small coppice and they have allowed me to work on it for the last two years. Even though it is heavily overstood (lots of big trees above) there are still some very nice trees to work with.
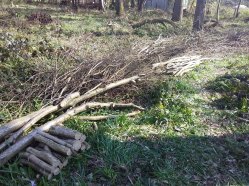
However, because it’s a restoration project we always end up with big piles of brash.
The question of what to do with the brash is usually answered with a chipper or a fire. However, it has always seemed like a waste of material to me and throughout my apprenticeship I’ve been interested in other uses for it.
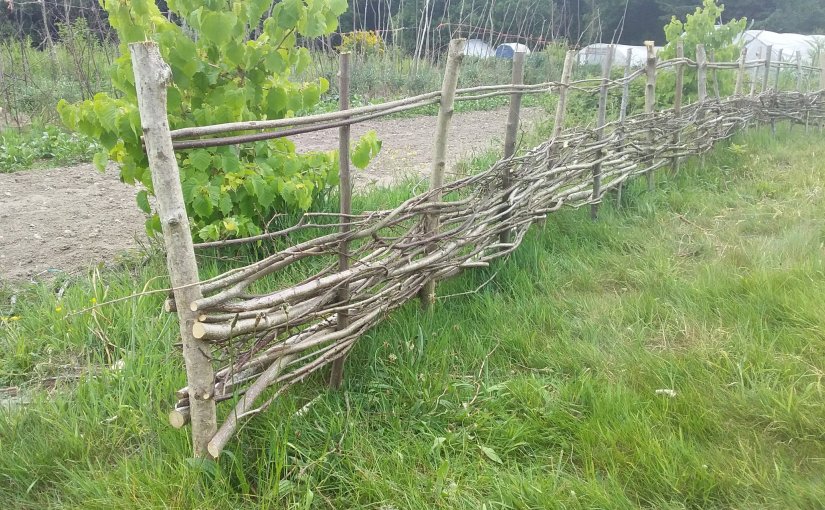
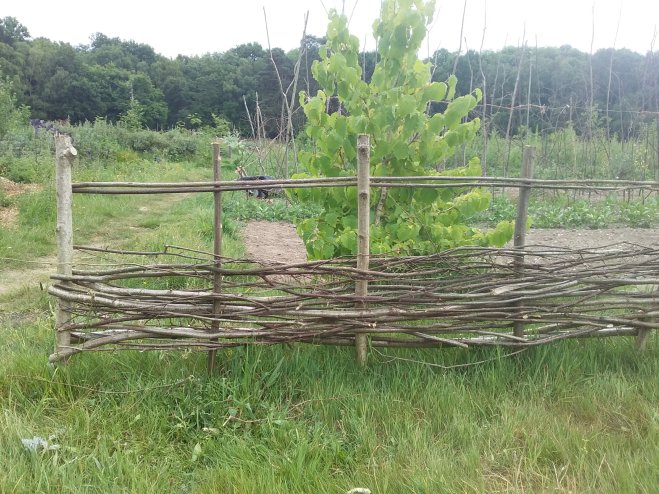
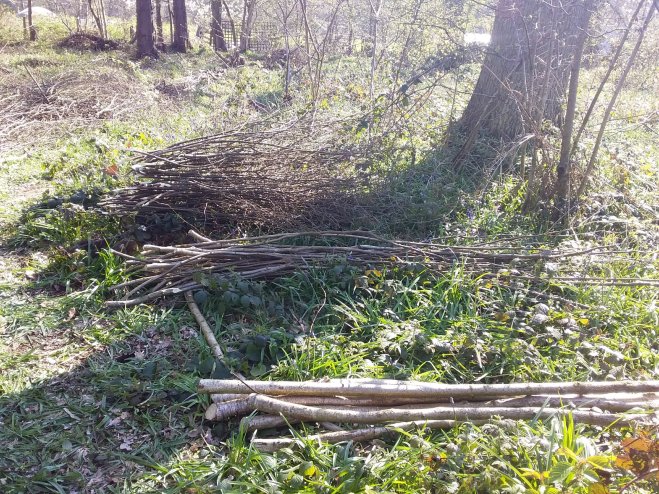
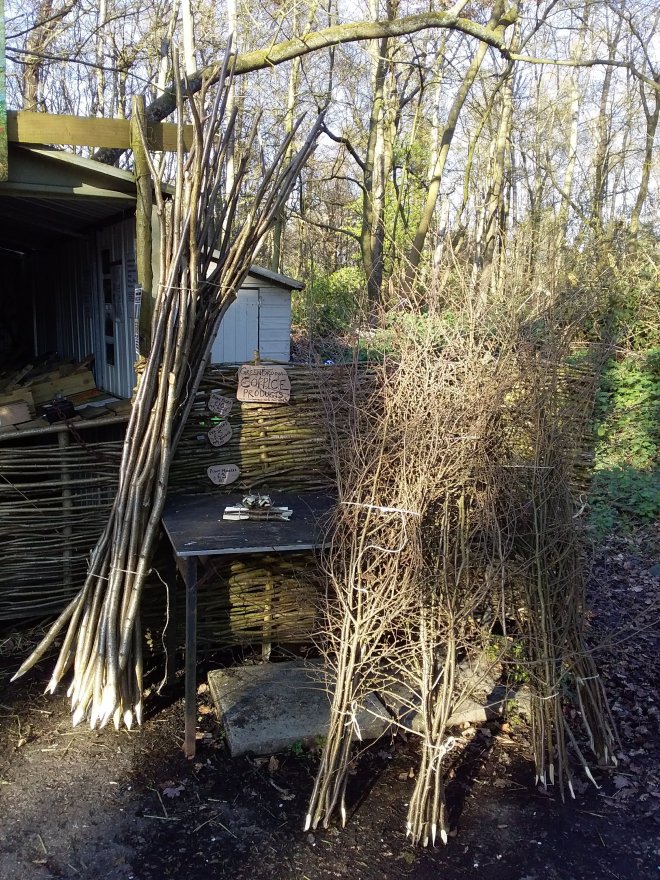
This year I thought I’d have a go at making a ‘rustic’* fence with it. Many of the branches were not good enough for pea sticks or bean poles but were still straight enough and long enough to be able to weave with once the side branches had been removed.
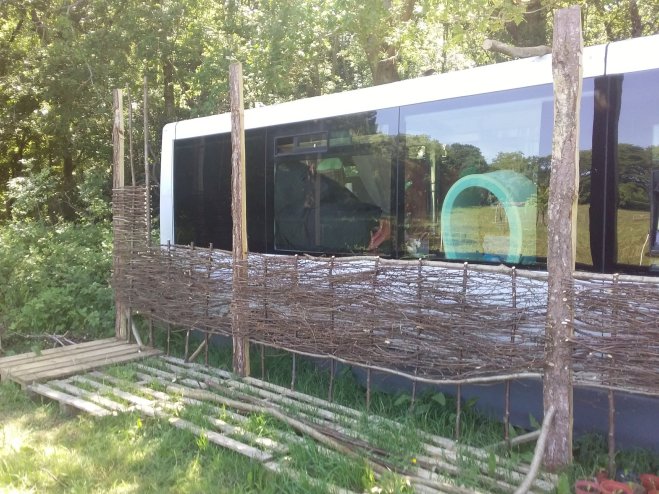
Two fences have been made on the farm over the last two months. One to seperate the football pitch from the growing beds and one to help my big white bus blend into the background in its new temporary spot on the field.
The first fence needed to be sturdy so I put stakes in the ground, about 4ft long (1ft in the ground) and 1 1/2 feet apart, then screwed in a rail at the bottom to hold them all together. This rail also holds the weaved material off the ground so that the brambles can be easily cleared around the bottom of the fence. The long bits were weaved and then the fence was finished with some binder quality lengths to create a top rail design.
The second fence didn’t need to be as sturdy but did need to cover the white parts of the bus so in this case I used the more brashy ends of the branches to create a thicker screen. I took two or three branches and squished them so they made an elongated shape and weaved them together, alternating the direction of the weave every two lengths. This made a lovely bushy screen that still had the delicate dried buds attached, making a lovely design feature.
I’m very grateful to one of my sponsor businesses, The Stick Smith, for teaching me the basics of willow weaving on a large scale. We did several garden fences when I was working with Dave and I picked up how to create an even and thick weave and finish off the job nicely with a little pruning.
My next fencing project is for a community project in London where I will be fencing off an area of fruit trees. If your ever down at the Lordship Rec in North London come and check it out!
*Top Tip: ‘Rustic’ can be applied to anything that looks a bit rough but is charming because of its roughness.
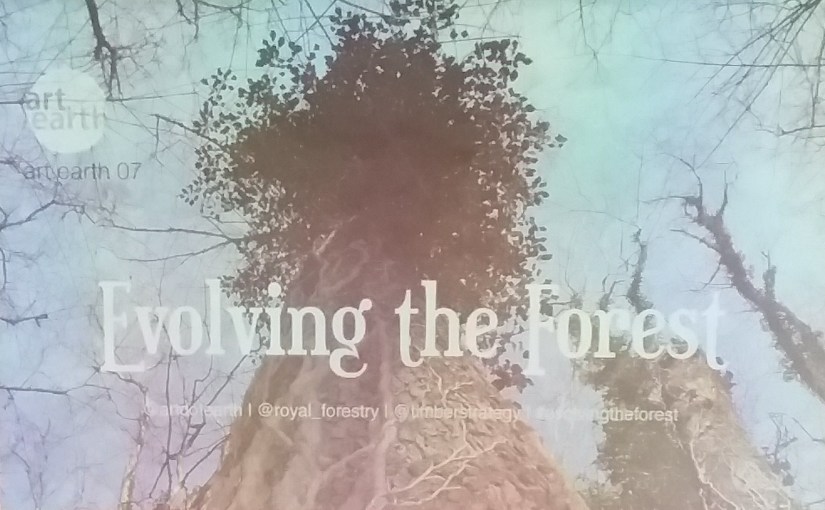
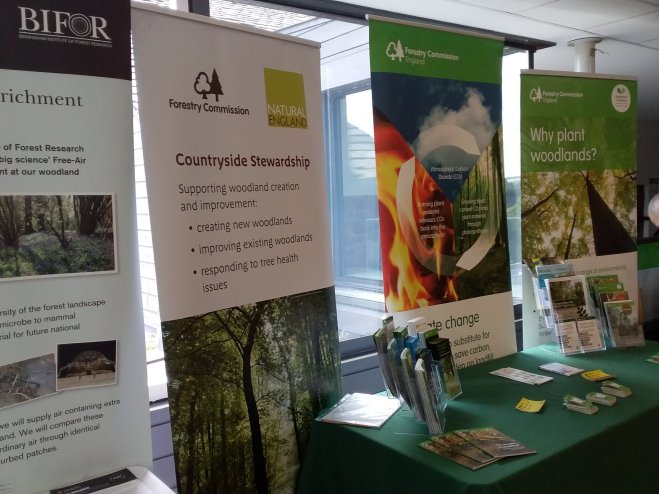
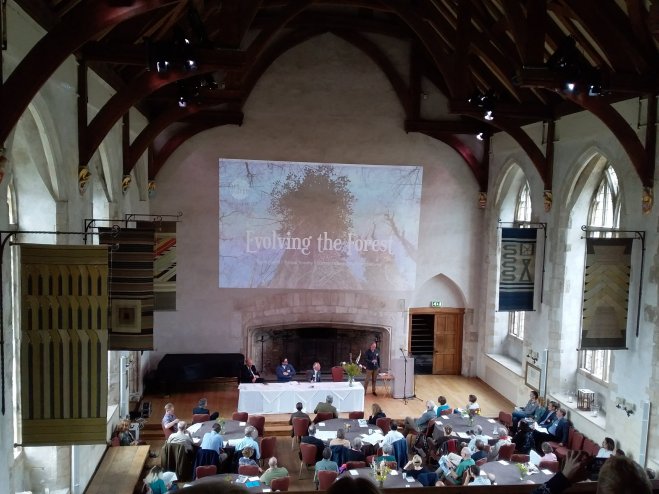
To say that the Evolve the Forest conference was a success would be an understatement. The conference, organised by the Royal Forestry Society, ArtdotEarth and Timber Strategies and hosted by Dartington Hall, managed to do something that not even the organisers were sure they could pull off as they brought two seemly opposing worlds together: commercial forestry and art.
At first it seems like an odd combination but there was a common thread, namely our relationships to trees and woodlands and the threat that they currently seem to be under.
From a forestry perspective a tree is a crop. It is grown in large quantities and harvested for economic and resource based reasons. We all rely on wood and wood based products in our homes and going forward we may rely on them even more as we reduce our plastic usage and find other ways to create energy through biomass. The seemly chaotic climate along with the increased threats from pests and diseases are a serious issue to this industry and organisations such as Forestry England are thinking hard about alternative trees and ways to grow them that will cope in an uncertain future.
The artistic perspective brought in the emotional aspect of our relationships with trees and woodlands. It’s undeniable that we have been enamoured with trees for a very long time. They are present in our myths and our stories and hold a special place in the hearts of many cultures.
It is this emotional response to trees that can be helpful, and sometimes unhelpful. My own perspective has changed dramatically since I became a coppice worker. Before, as a city dweller, I’d bristle at the thought of any tree being cut down. But now I understand that a woodland is a living entity, and the individual tree is a part of that entity along with thousands of other lifeforms. Even so, respect is due to the individual tree and allowing a certain amount of emotion and reverence for the life of that tree influences the decisions that are made about it.
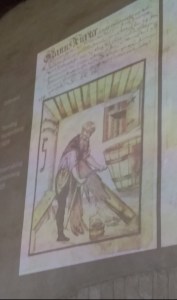
Illustration of a tanner using a draw knife to remove oak bark
The question of the conference seemed to be; how do we bring both of these perspectives together to create a culture of respect when managing woodlands and harvesting timber? To encourage Each of the delegates were invited to step outside of their comfort zones and go to a lecture they may not be familiar with and that represented the ‘other side’. There was a delightful moment when a grey haired gentlemen working for Forestry England gushed at how much he had enjoyed a particular lecture and that it wasn’t something he’d usually engage with. Later on I saw the same gentleman enjoying a performance piece by Tom Marshman – We Need to Talk About Bambi, and I over heard him afterwards reflecting emotionally on the deer that he’d had to cull, a necessary but clearly not heartless act. In another conversation an artist lamented over the need to kill deer at all and the forest manager student next to her explained why it was necessary to protect our woodlands from over browsing.
These were the moments that made this a very special and unique event, an event that will hopefully be repeated again in the future and perhaps include a speaker on the benefits of supporting coppice workers and the woodlands they manage.
It’s almost summer so it must be time for charcoal making! This week I was at Westonbirt Aboretum where Brian Williamson has been restoring their coppice and making, among many other things, charcoal.
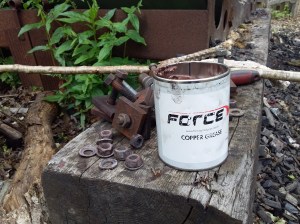
Copper grease is used on the bolts as normal grease would burn away at high temperatures.
Charcoal making has this air of romance. I don’t know if its the plumes of smoke – that is actually mostly moisture – the site of people covered in black dust or the anticipation and skill in actually cooking the wood and not burning it all… or leaving it half baked, but it harks back to something earthy and oldy worldy.
In those olden days people would use earth mounds to cook their wood and this can still be seen at events such as Char Fest, which is hopefully being held again this year for new enthusisasts such as myself. Up until recently the ring kiln was the charcoal makers tool of choice. This involved lighting a fire inside the kiln and adjusting chimneys and vents to control the air flow and temperature. It also involved climbing in the kiln to shovel out the charcoal… which, I am told, is a very messy job indeed!
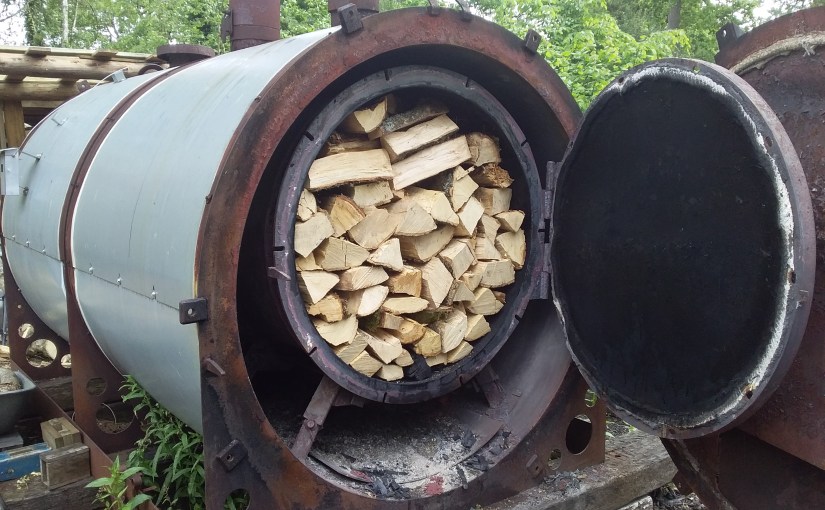
These days we have a marvellous instrument called a retort. Not only does it have an almost 100% converstion rate, (we only had two or three ‘brown ends’ – the name of undercooked wood – out of the entire burn) it also resuses the gases expelled by the wood as it cooks. A fire is needed to start the whole thing off but when it reaches 420 celcius the retort will use the methane gas from the cooking wood and it becomes self-perpetuating until the gas has been used up. And you don’t have to climb in the thing to get all the charcoal out.
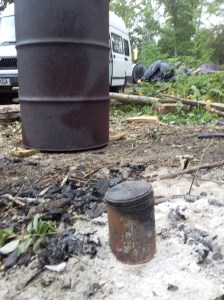
A tin can, an oil drum and a retort (you can just see the flame in the background)
I didn’t get a chance to try out the ring kiln but I did see how a retort, an oil drum and even a tin can will turn wood into charcoal and I’m looking forward to practicing the latter two when I get home.
“Why use charcoal?” I asked, hoping I wasn’t about to shoot myself in the business foot. But Brian gave some good answers… charcoal burns at a hotter temperature, turns into embers quickly and has no smoke. The charcoal that is made by local woodland and coppice workers also has the added benefit of being additive free, has reduced transport miles and of course it supports us woodland folk to support our woodlands. Sounds good to me!
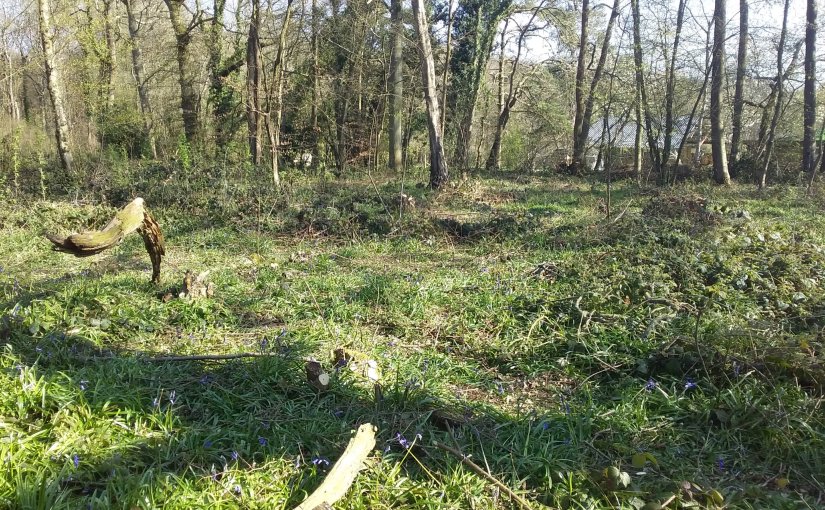
Well, the bluebells are out in force, the leaves are bursting into life and I am exhausted. So it must be spring! With my first coup nearly finished and ready to enjoy all the lovely sunlight it can now receive I am ready to settle down into making and selling mode.
piles of products
I’ve been really lucky to have three woods to work in this winter and each have offered a different experience. Iain Loasby showed me how the professionals do it – well finish it, because I actually missed the cutting part – and then I got the chance to work in a fairly productive woodland in Worcester filling real life orders for real life clients. Finally I was able to put my heart and soul into a little coup in South Oxfordshire where I have been given to chance to practice everything I’ve learnt.
It was a very small and very over-stood so was more of a restoration project rather than a fully functioning coppice. Even so, there has been a chance to sell a few products and have already sold some bean poles in the farm shop. I also have plenty of pea-sticks if anyone is interested!
Bit of layering
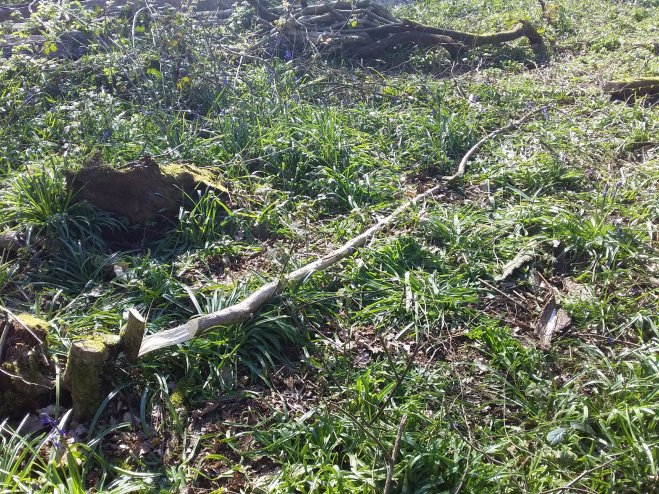
The hazel is quite sparse in this coup so I’ve layered some of the trees. This will hopefully increase the density for the next cut. I’ve also left small piles of wood to rot down and turn into habitats for the local small mammal population. The chickens also seem to like to use the brash piles as secret laying spots.
All the material has been put into a hedge around the coup so that over the next year, once the material starts to dry out, we can use it for firewood and kindle, as well as making pretty fences and other various crafty things.
I’m shattered but its been great fun and now I get to think about what I will make!
One of my passions in life is getting people back into the woods. It is so important, not only to encourage people to spend time out side, and away from cities, but also to get people working outside.
As a consumer culture we often experience the woods as just another nice day out. But this kind of relationship can create a sense of seperation from our enviroment and bring on feelings of detachment. We become outsiders peering into an alien landscape meant for other living things that we call ‘nature’. What we seem to have forgotten however, is that we are part of that natural environment! Before the onset of agriculture, and more recently indistrial civilisation, the woodland was our home for thousands, if not millions of years. But fear not. This sense of oneness returns when one engages directly with the woodland environment through hard graft. The primal instinct and ancient connection reemerges.
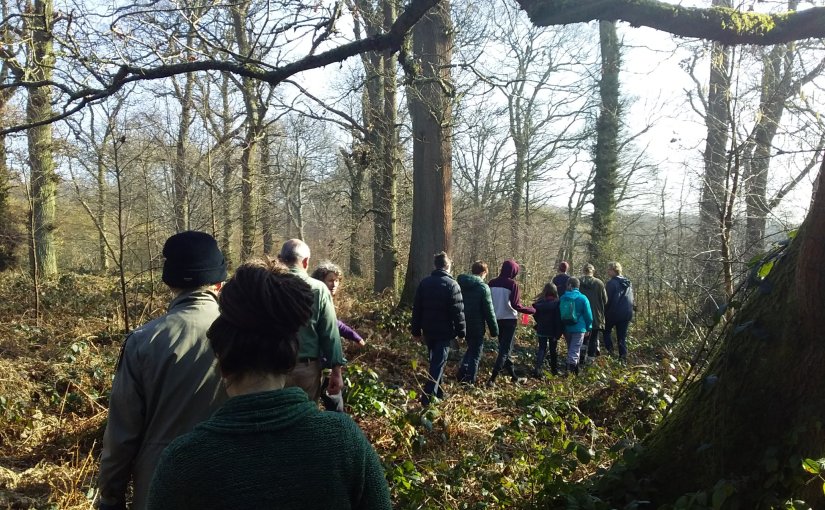
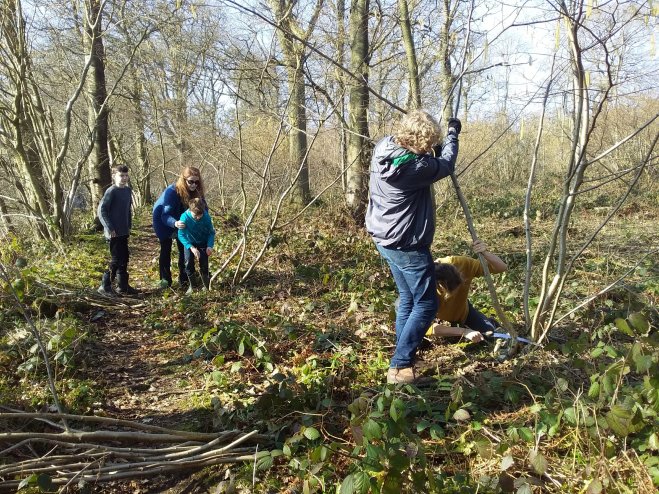
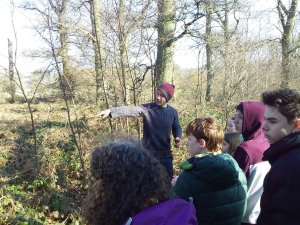
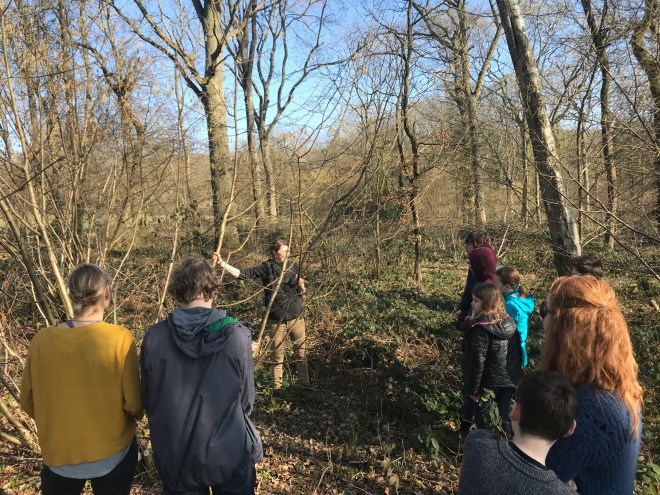
With this all in mind it was an absolute delight to put on my first community coppicing event. For one unusually sunny February day 14 people had a chance to get their hands dirty and bring light and warmth back to the woodland floor, as has been done so previously for centuries.
Even better was the attendence of a local scout troop! In the era of ipads and social media it was encouraging to see the focus and enthusiam of these children as they engaged directly with the work. They loved it so much they were keen to know when they could come back again! And, with the help of the other adults, all children left with complete sets of fingers, which I was very pleased about indeed.
Coppicing is a perfect way to get people back into the woodlands and learning how important it is to manage this type ecosystem. A coppice expects to be cut, and the more we leave them to overgrow the more, ironically, we damage the environment. A coppice also lends itself well to volunteer work because of the simplicity of the work and the tools that are used. Anyone who can use a pruning saw and some loppers can get involved. And the more we get people involved the more we can send out the message that we have a great solution to managing our woodlands in a sustainable way and providing our communities with amazing, high quality wood based products.
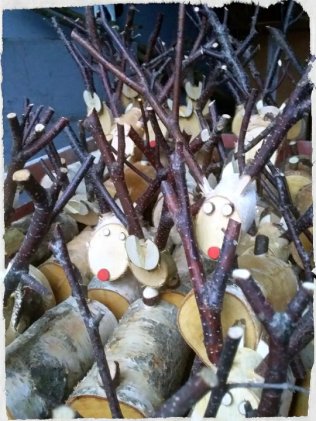
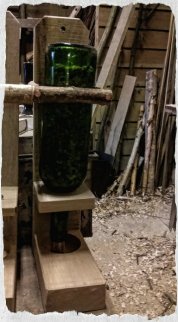
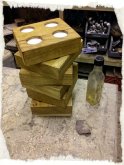
Over the last two weeks I have been chief elf for one of my mentors Dave Jackson AKA The Stick Smith. Dave is a master at coming up with creative ways to use coppiced materials such as hazel and oak and has a great range of modern products. My favourite products to work on were the bird feeders. One was designed to hold an apple and the other used recycled wine bottles to hold some birdseed. I’m keen to learn traditional skills but I’m glad to have some experience in making high end products that create coppiced products with a modern twist.
Dave also made reindeer, wreaths, Christmas decorations, whistles and tea light holders.
I asked Dave about selling at markets and if he had any tips on pricing. Dave explained that he would adjust the prices depending on how well a product was selling. For example the bird feeders were struggling to sell at £20 so Dave brought them down to £15. Once they started flying off the shelf… he creeped the price up to £18. This didn’t effect the sales but he wasn’t sure they would break the £20 mark so he kept them at this price and managed to almost sell them all. Experimenting like this seems really useful on a weekend market where you have three days to try and understand your customer and work out what they are willing to pay.
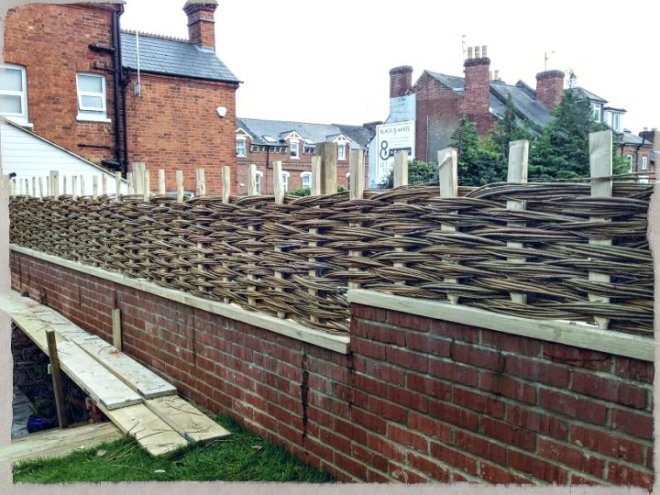
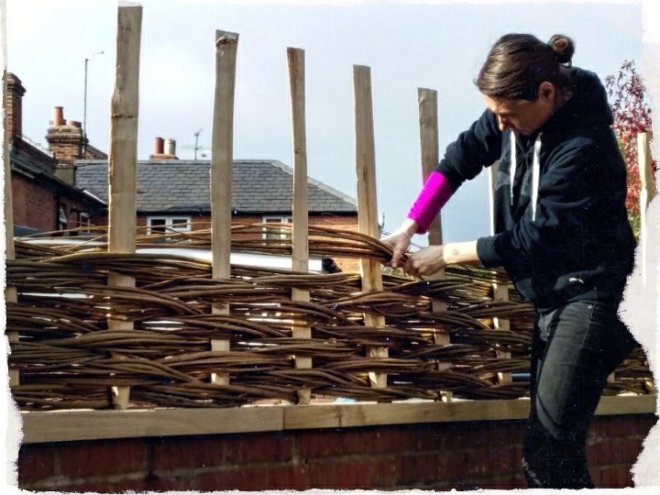
Today I had a chance to work on a willow in-situ hurdle. The fence was about 10mtrs long topping a small brick wall. My new mentor, Dave Jackson, started the fence by drilling oak beams to the top of the brick wall as supports for the sweet chestnut uprights. We then weaved in wet and dry willow rods that were cut about one year ago.
This was an easy enough job with a beautiful finish. This is going to be a wonderful skill to have.
Top tips for the day:
Keep the butts of the rods that you add to the hurdle as close to the uprights as possible. This will reduce the amount of pruning at the end of the job.
Use thicker rods to correct any uprights that are being pushed out of alignment. The stronger rods will push the uprights back but be careful not to push them back yourself too much as they can snap.
Mix the sizes of rods you use in each handful so that all the different sized rods get used and there is a good variety of sizes across the hurdle.
That’s right. A log can accurately predict the likelihood of you swearing under your breath when it refuses to split.
A beeping beep
Trying to split a 50 – 60cm diameter piece of tree can be quite a challenge. Especially if it was a gnarly bit, a point where the tree split or is still too damp and keeps absorbing the maul. The first three or four foot of the tree are also notoriously tougher. So sometimes its not just a case of whacking it as hard as you can – although that helps – but just like in palmistry you need to learn how to read a log.
Every single part of the tree is different and so each new round piece is a different challenge. My mentor Mark suggested going for the heartwood first and getting a split in that. Then it seemed that heading for the edges helped the split to shoot through the log.
But when the basics don’t work you need to have a closer look at the details of the particular piece of round wood in front of you. For example, each piece of trunk has a small crack in it’s centre. Logically you might think, like I did, that if I followed that crack it was be an easy task. But actually what I found was that it split better if I went perpendicular to that natural crack. The cracks around the side of the ring are not always useful either. Some times they can indicate a point of weakness but, as Mark put it, sometimes they are irrelevant.
A friendlier bit of tree trunk
The main thing to look out for is signs of branches. These bits are going to be very knotty and its best to chip around them rather than attempting to hack them into smaller pieces.
Turning a piece of trunk upside down can also help. Sometimes one side is more forgiving than another. When you’ve got a really big piece then it might be a case of chipping off one side then going around the ring as if you’re slicing up a cake. Once you’ve split the piece of trunk in half you can have a really good look at the way the tree has grown and chose the spot where the rings are straightest and will easily split in half.
There’s nothing quite like hearing that certain cracking noise to predict a little internal fist pump after you’ve spent five minutes trying to split a bit of tree trunk.
“Before enlightenment, chop wood, carry water. After enlightenment, chop wood, carry water.”
Zen Proverb
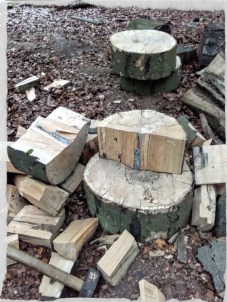
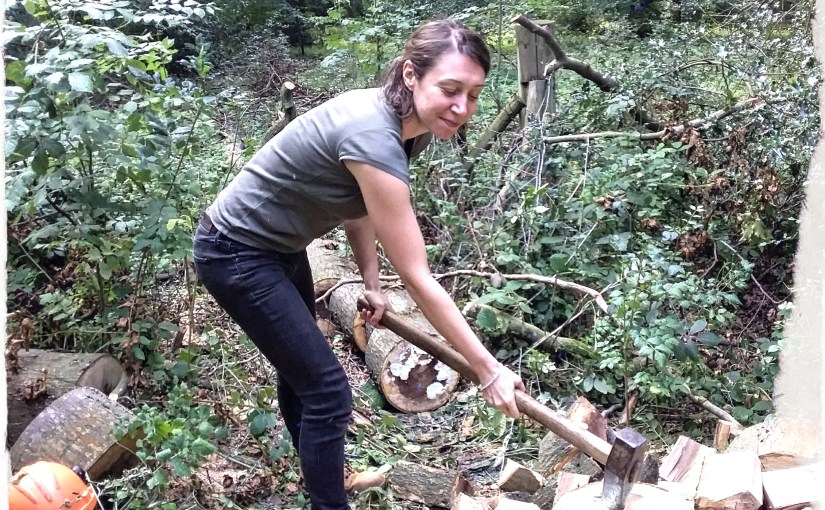
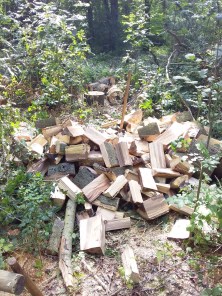
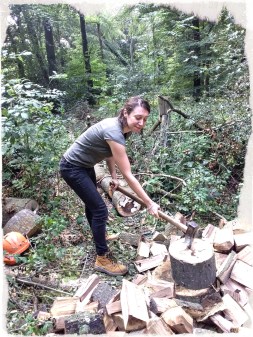
Today in Coppice Land I have spent a lovely day in the woods chopping wood. Firewood is a good income for coppicers and my Mentor, Mark, was lucky enough to know someone with a group of dead beech trees that needed taking down. Mark has kindly obliged and now has a stack of logs to send of to a local garden centre.
pile of logs
The key thing I found when splitting logs, or also sometimes called cleaving, is that you need to use your legs. Unfortunately I didn’t actually do this – and after four hours of log splitting my back is killing me! Its a classic mistake to use your back when doing any strenuous work but next time I’ll be using my legs more – even if it means I have to stand in a funny crouching position all day. Its worth it!
Otherwise it was a very satisfying job. Perhaps, I mused while I chopped, it’s because this job is probably written into my very DNA. For thousands of years we’ve been doing this kind of work and my body seemed to have a natural intuitive reflex towards the task… although thinking a bit more about it, and feeling how my back feels, perhaps not. But I have to say, there is something romantic and wholesome about splitting logs.
The most zen moment of the whole day was when I realised that the splitting became easier when I stopped trying to do the work, meaning, when I let the maul (the heavy
how NOT to hold a maul if you want to split a log – unless you’re posing for a picture
axe) do the work for me and I let the axe fall, using its natural weight, the logs would happily ping apart, and my wrists wouldn’t hurt so much. Just like in the Taoist tradition, one needs to let go of trying and just allow things to be as they are, and allowing a maul to do its job with minimal input from me was very enlightening indeed.
UPDATE: After another day of swinging a maul I released that I was doing some of the work and in fact the process was one of co-creation rather than surrender, a more Yin and Yang relationship rather than channelling pure tao. (Can you tell I had a lot of time to think about this. But what a wonderful way to spend a day – pondering the taoism of chopping wood!)
One of the many things I’m looking forward to during my apprenticeship is meeting the various local coppicing communities. Coppicers tend to work alone as sole traders and this means that networks are an important way for local coppicers to meet and share skills and stories.
This weekend I had the honour of being invited along to one of the East Anglian Coppice Network events being held at a woodland owned by Iain Loasby. I met Iain after discovering his shop just up the road from me in London. When I came across his shop a year ago I was intrigued by this strange shop that seems to being selling a variety of sticks. When I won the national coppicing apprenticeship I was delighted to remember this shop and realised what a treasure was on my door stop. Although the name would suggest otherwise, Wood Green was the last place I’d expect to find a coppicers shop.
So a few weeks ago I eagerly presented myself to Iain as a fledgling coppicer and was invited along to the network event.
On the agenda this time around was Besoms Brooms and Traditional Rakes. Both of these, especially brooms, are a staple for coppicers and although not used as much for their originally purpose still attract customers looking for a nice item on their wall.
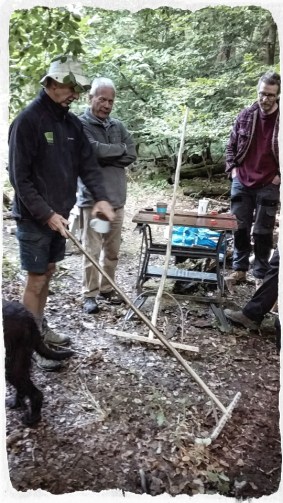
Andy and Paul showing us different types of rakes
First up was Paul, a newly retired coppicer, who showed us how to make an ash rake. Rakes often come with regional differences and can use a split handle or a flexible piece of hazel to brace the head. I believe in this case we were being taught the Suffolk way of putting a rake together.
Before anything else you need a nice piece of ash around 6 – 10cm in
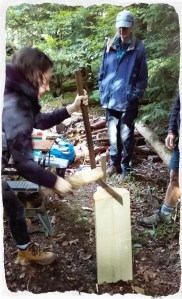
splitting the Ash log
diameter to make heads. We were lucky enough to have a lovely piece of ash that split beautifully and I was assured it wasn’t always this easy.
Once you have a rough size its time to use a shave horse to take the bark off and turn it into a lovely smooth piece of wood. Paul chose to ‘batter’ his heads which is a bricklaying term that means making the top of the head thinner than the bottom, but Andy, another coppicer at the event didn’t think this was necessary.
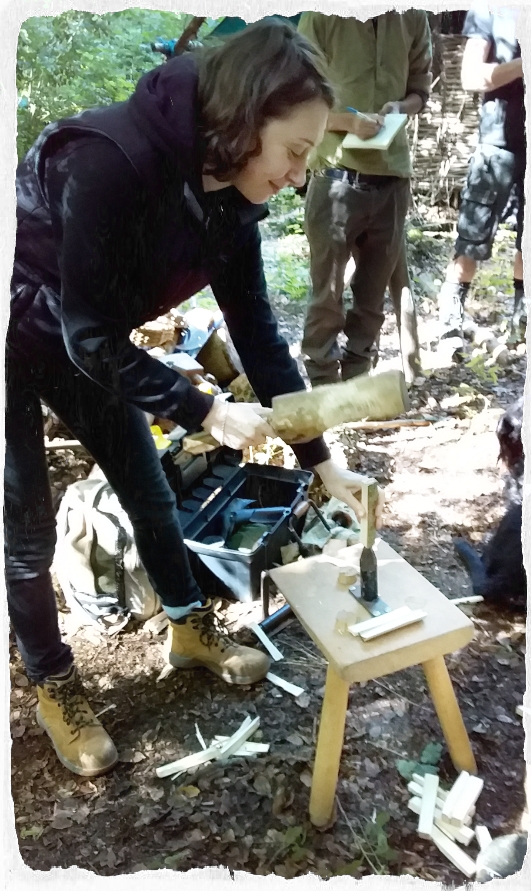
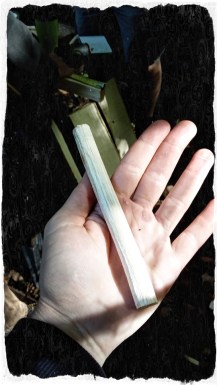
Making the pegs was an interesting process. First a piece of tree truck the same length as you want your pegs was split into tiny pieces, using an old inner tube to hold the wood together, then these pieces were jammed through a piece of metalwork called a tine cutter. Apparently its useful to have a splayed end on your tine cutter so that the tines don’t get stuck as they push through the hole.
One of the great things about the day was getting these sorts of little hints and tips from the experienced coppicers. “Throw the mallet instead of hit it” was advice from Andy which stopped my wrist hurting so much, and “aim for down here” was more great advice from Paul as he pointed to half way down the piece of wood I was preparing to split with a Froe (a type of wood splitting tool).
After the tines/pegs were made the next task was to drill holes into the head. Paul suggested using a ‘green’ head (a piece of wood that hasn’t been seasoned) with seasoned pegs. This would mean that the head would season and shrink around the pegs, holding them into place.
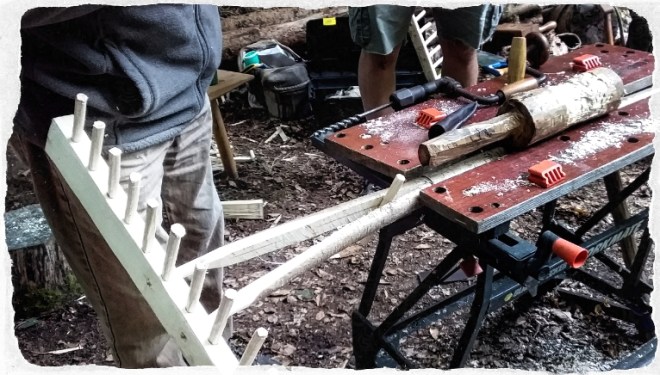
The pegs were then shaved down on two sides and bashed in with a mallet. Next we needed to choose a handle and split the end. A rake handle can be quite long and needs to be straight as possible but can have some wiggles* in it for character. After the handle and head are fixed together copper nails were used to keep the head and handle together.
joining the head and the handle together
Another handy tip to remember was to drill a hole at the end of the split and wrap some wire around to keep the split from going any further.
Besom Brooms
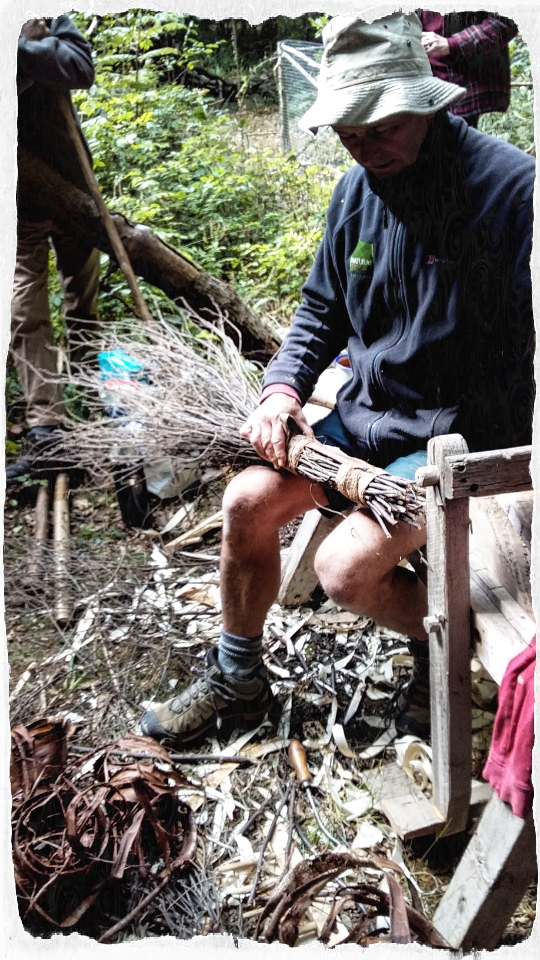
Andy showing us how to bind birch sprays with elm bark
In the afternoon it was Andy Bashem‘s turn to show us how to make a good broom. I’ve already helped my mentor Mark to collect birch ‘sprays’ (birch sticks) so it was interesting to see the next step in the process.
Andy chooses to make all natural brooms without any metal parts as this seems to appeal
more to witches. No, this isn’t a joke. Apparently wiccans use besom brooms to clear old spells from ritual spaces but the brooms mustn’t contain any metal. This is the kind of vital information passed on during networking events. There is also an aesthetic reason for a wireless broom but it does take much more time to make.
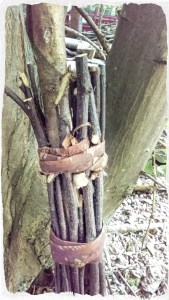
One starts off by grabbing a handful of birch sprays then moving them around until all the bottoms of the twigs are lined up. You need a bit space to wrap around your binding material so any twigs that are in the way are pruned. When your happy with your bundle of birch sprays you can then start the wrapping process. In this case we used some Elm Bark that Andy had had in his barn for a couple of years. To refresh it he simply soaked it in water for a couple of hours the night before and the bark became flexible again like leather.
Once the binding was on tight we then drove a sharpened stake through the middle of the bundle and used a wooden peg to hold the handle in place. The peg is important to stop the twigs and the handle from separating and the customer being left with a very sharp stick in their hands. A good handle can also increase the price of a broom if it has special features like twists. Andy didn’t try to make the broom look all the same and believed that as people are all unique then the difference in the brooms would appeal to different people. As I didn’t pick up enough birch I was pleased to hear this and declared my very small broom a special camper van sized broom to fit into tiny houses just like my own. The broom was then bound with baling twine so that when the twine was removed in a few days the broom would maintain a slimmer shape.
Overall I had a lovely day with the East Anglian Coppice network. I raked in the knowledge and wasn’t swept away by all the new information at all.
I hope to visit some of the members coppices over the next few years and plan to join them at another event soon!
*I’ll develop my technical terminology as go – but in the mean time i’ll be making up my own…)







 Over the last two weeks I have been chief elf for one of my mentors Dave Jackson AKA
 products to work on were the bird feeders. One was designed to hold an apple and the other used recycled wine bottles to hold some birdseed. I’m keen to learn traditional skills but I’m glad to have some experience in making high end products that create coppiced products with a modern twist.
 them down to £15. Once they started flying off the shelf… he creeped the price up to £18. This didn’t effect the sales but he wasn’t sure they would break the £20 mark so he kept them at this price and managed to almost sell them all. Experimenting like this seems really useful on a weekend market where you have three days to try and understand your customer and work out what they are willing to pay.
 Today I had a chance to work on a willow in-situ hurdle. The fence was about 10mtrs long topping a small brick wall. My new mentor,