As my apprenticeship comes to a close it is time to start thinking about how I’m going to take my new skills out into the world and make a living. If you’ve been following this blog then you’ll know that I have a slight basket addiction so it seems proper to use this enthusiam and share it with others. I’m still learning myself so full blown basketry courses are still a little way off but in the mean time I thought i’d have a go at setting up Basket Club!
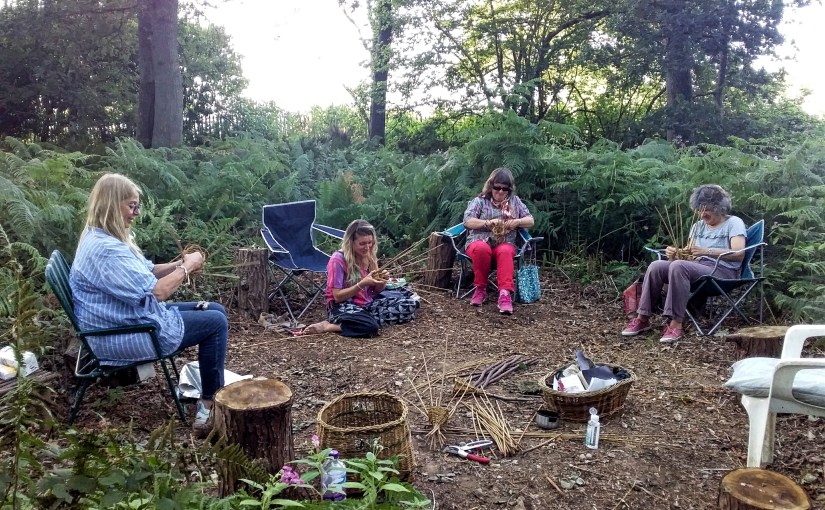
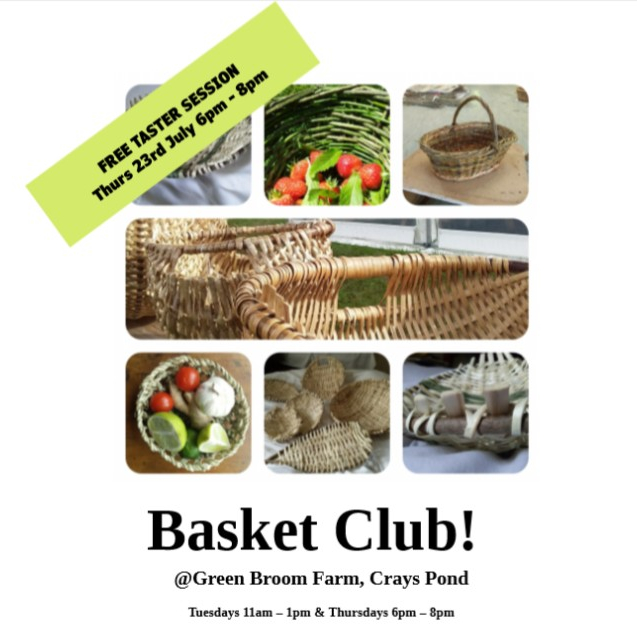
Basket Club! is a weekly 2 hr session where people can drop-in or sign up for a 6 week bundle of sessions. The idea behind Basket Club! is to invite local people to come and spend some time in the woods, meet their neighbours and have a go at simple weaving projects.
After the isolation of lockdown it feels like the right time to get people back outside and back spending time in groups. Weaving is also a great mindfulness tool to help focus the attention on something other than the concerns of our daily lives.
I’m experimenting with how to introduce other mindful practices into the club and so far have been inviting people to choose a sense and focus on that sense as we walk through the woods from the car park to the seating area. This has helped to calm the group but has also felt a little bit awkward as I have to ask people to be silent on the walk. I’m aware that people who use chatting as a way to avoid discomfort may find this uncomfortable but I feel its worth persisting as it helps ground everyone in the present moment.
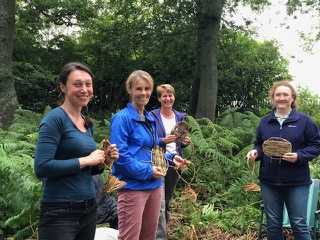
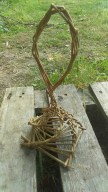
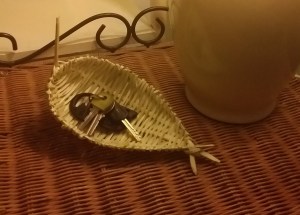
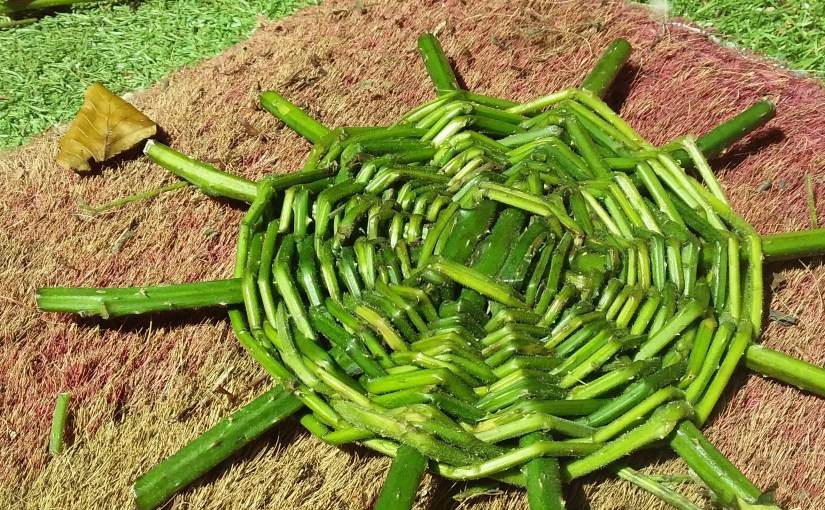
So far we’ve made birdfeeders and soap dishes and also had a go at making a basket base. The basket base is quite a tricky technique to teach and learn and it is challenging to notice when peoples frustrations come up and not meet them with my own frustration of worrying if i’ve asked too much of them! Some people however get the techneque easily so it seems that its a case of working out peoples different styles of learning and supplying images as well as words and demonstrations to help people understand what they need to do. And, for myself, learning to stay calm and patient so I can articulate myself in ways that encourage persistance.
Its all a great learning curve and I’m really pleased with the uptake of participants as I’ve had full classes for each week and you never know, you might find a Basket Club! near you soon too!
It’s been a slow start to the year with lots of time needed for resting and recovering from back to back bugs. But now the end of the month is here I’m back on track and ready to begin the year in earnest.
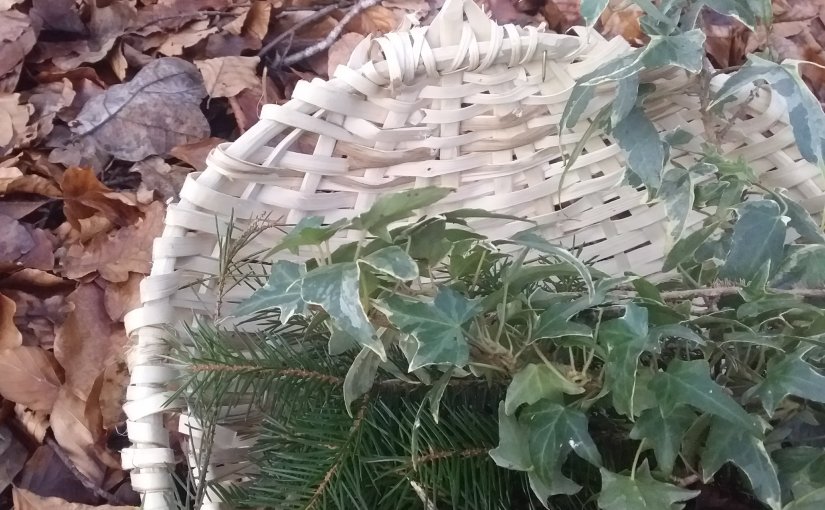
It’s not all been long naps and lemons and ginger tea, I have also been pottering away and making lots and lots of split hazel baskets.
The technique, historically popular in Wales, was shown to me over the summer and since then I’ve been hooked. Every part of the process is enjoyable and has a unique set of skills to learn.
Using a hazel rod to make a basket can be very efficient. Every part of the stick can be used to make different aspects of the basket such as the frame, the weavers and the ribs, so, apart from a pile of shavings, you’re not left with much waste. This is handy because suitable hazel rods for basket making are fairly old compared to their willow counterparts, which in my opinion, makes them a much more valuable resource.
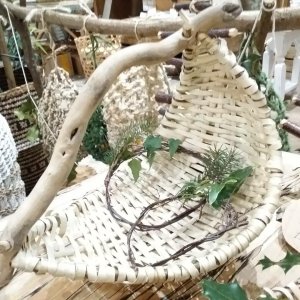
Gathering basket with driftwood handle
The best sticks for making hazel baskets are the slow growing sunshoots that grow on overstood hazel (hazel growing under heavy canopy cover from other trees) and so these can be up to 10 years old even though they are the same width as a 4 year old rod grown in the sunlight. The thing to remember is that an overstood hazel tree needs its sunshoots, so to protect the tree from damage only one or two rods can be taken from each tree, and only if they have a few others to keep them going.
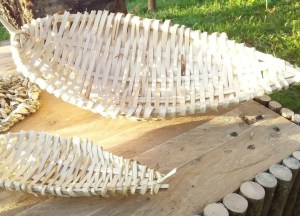
I’ve been working in miniture mostly so that I can save even more resources. This often means I can practice making a basket with just one rod. its more fiddly and takes a bit longer to prepare the material but they turn out well and look cute. The one issue with selling this kind of things is that because it is smaller customers assume it will be cheaper. This isn’t the case at all as it takes just as long to make a smaller one because of the fiddliness!
Having fun with miniture baskets
If you would like to know how to make a basket then I can highly recommend Lewis Goldwater and Zed Outdoors youtube video on how to make a split basket. It is a mega video at about 4 hours long but well worth a watch and has a timestamp in the description so you can go to a specific part.
Later this year I will be working with Ruth Pybus who is a master split hazel basket maker and also hope to display some of my baskets at the Oxfordshire Basket Makers annual basketry exhibition.
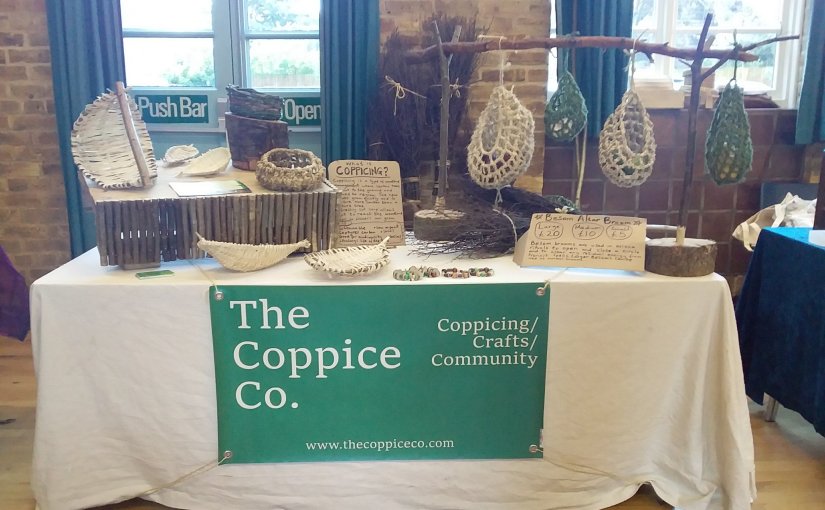
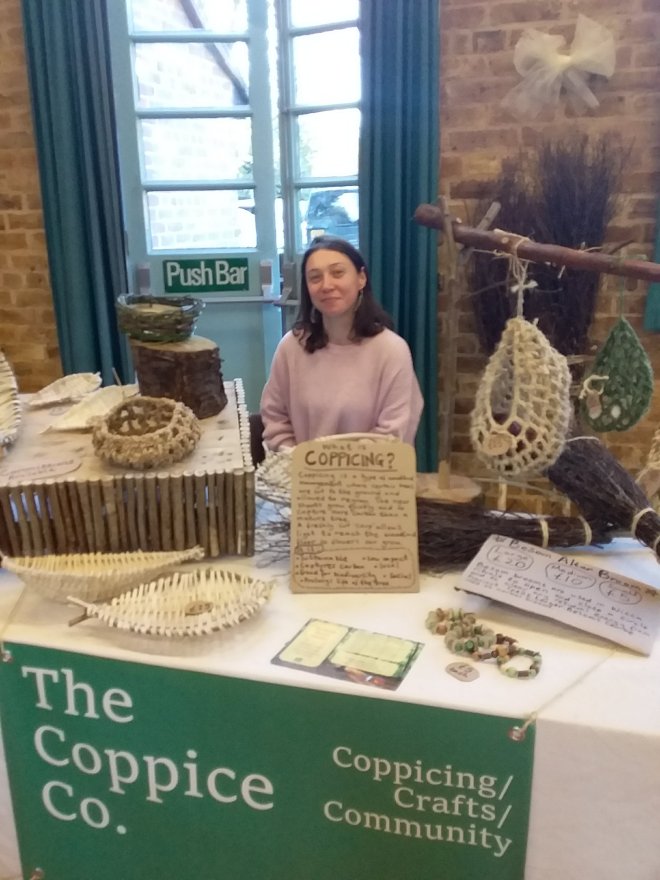
To pass my apprenticeship this year I am required to set up a stall. Little encouragement is needed however because I love setting up stalls and playing ‘shop’!
I recently had my first opportunity through a new venture called the We Are Women Festival set up by Laura Currie to bring together women who practice various skills, mostly in the healing arts but also in the crafty arts as well.
It was a great opportunity to really shift gears and get things together for the coming year.
Part of setting up a stall is to create something that is visually appealing and shows off the products. I love the colours that split hazel baskets offer. Its creamy beiges with dark brown bark. And this goes lovely with the green of my sign.
Personally, I prefer stalls that are not too over loaded with different items. When there is too much to look at I can find this overwhelming as my brain tries to focus on too many things at the same time and I’ll usually move away from those stalls fairly quickly. So with this in mind I only set out a few different items, enough to make the table look full, but not busy.
Pricing is always a tricky one and I’ve had some great advice from my sponsor business such as adjusting pricing as the day or weekend goes on and listening to the potential customers as they browse – apparently they will be very open about what they think of your prices, even in front of you!
It can be difficult not to undervalue items because, as a crafter, I am competing with imported, mass produced items, and so it is difficult to charge what I should be charging. A basket, for example, that takes 5 hours to make should be at least £50 but when a customer can go to a shop and buy a basket three times as big for a third of the price its difficult for them to understand why my basket is so expensive.
One remedy to this is engaging customers. I have a friend who is very good at engaging customers and selling her products without, it seems, selling them a thing. She explains to them why her product is going to be beneficial for them and the product sells itself. She sells creams and potions. I sell baskets… it a tougher sell. But what I did notice was that talking to the customers and explaining how things are made, why I make them and all about my apprenticeship got them interested in the items much more than just letting them look at the baskets. Another remedy is to be making the item you’re selling. This gives people an idea of the amount of skill and work it takes to make the items you’re selling and encourages engagement.
I did quite well at this market and I think this was because it was a niche audience. Finding the right stalls may be more beneficial than just finding any old market day. Because my products are sustainable, and with regards to the besom brooms, a traditional witchy item that is used in wiccan ceremonies, I will be on the look out for more specialised markets.
The next one coming up for me is a christmas market day at a local shop run by a lady who wants to encourage local crafts people who are using sustainable products. This is a really exciting project to get involved with as it is part of an initiative run by the local council who will be offering free workshop spaces to people like me!
The truth must be told… My name is Suz and I am a basket addict. It’s been two weeks since my last basket and I’m already having withdrawal symptoms.
I made my first willow basket a few months ago at the Greenwood Centre with the lovely Rachel Evans of Wheatcroft Willow and the group agreed to start with a more advanced type of basket, an oval shopping basket rather than the easier round basket. At first I didn’t understand the pattern at all. I felt a swell of frustration rise up but persisted and under Rachels’ fine tutelage she got me past the first hurdle and I left the weekend with a beautiful shopping basket.
It is a sign of an excellent teacher to be able to guide eight or nine people in making a full blown oval based basket, especially as some of us were first timers, and then have them go away with something decent. I know this because, since the course, I have had a go at teaching and although I understand the technique and can make a reasonable basket shaped object myself, teaching others to do the same takes some skill.
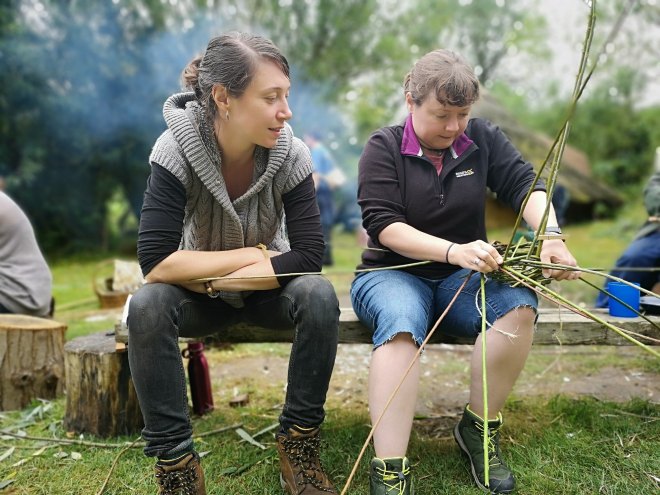
My first attempt was to run a bramble basket making workshop at the farm where I often visit. Everyone was eager to learn this skill, and cut back the ever encroaching brambles, and with only four others it was fairly easy to get the basic techniques across. However, my second attempt, at the crafty Treehouse Festival, things became a little more tricky. Firstly, we were using pieces of willow from a tree that hadn’t been pollarded in a while so all the lengths were trimmed from this years growth meaning they were short and branchy. Secondly, everyone wanted to make a basket! I kept the group down to seven but that was still a tough amount of people to work with, especially as I was keen to make my own basket as well.
The art to teaching is to keep calm. It requires projecting confidence onto your students and giving them the patience that they need to give themselves as they learn a new skill. It requires empathy as one remembers ones own frustrations and keeping them focused on moving forward. It requires the right language and turning that language into visual instructions. No one will understand what you mean if you say ‘now this bit goes into this bit’ – as I soon discovered. It also required a never ending enthusiasm to answer the same questions over and over again. But with all that said, I loved every second. Some people even went away with something that looked very much like a basket. Both of these opportunities were invaluable and were great steps towards doing something I really love to do – to teach.
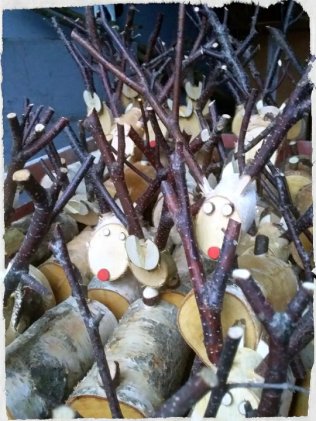
Over the last two weeks I have been chief elf for one of my mentors Dave Jackson AKA The Stick Smith. Dave is a master at coming up with creative ways to use coppiced materials such as hazel and oak and has a great range of modern products. My favourite products to work on were the bird feeders. One was designed to hold an apple and the other used recycled wine bottles to hold some birdseed. I’m keen to learn traditional skills but I’m glad to have some experience in making high end products that create coppiced products with a modern twist.
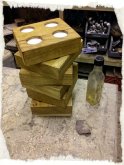
Dave also made reindeer, wreaths, Christmas decorations, whistles and tea light holders.
I asked Dave about selling at markets and if he had any tips on pricing. Dave explained that he would adjust the prices depending on how well a product was selling. For example the bird feeders were struggling to sell at £20 so Dave brought them down to £15. Once they started flying off the shelf… he creeped the price up to £18. This didn’t effect the sales but he wasn’t sure they would break the £20 mark so he kept them at this price and managed to almost sell them all. Experimenting like this seems really useful on a weekend market where you have three days to try and understand your customer and work out what they are willing to pay.
Yesterday I had the honour of working with Small Woods Heritage Craft Officer, Neill Mapes. Neill was running the fantastic Build A Bench workshop with a group of local people. The group were already well ahead of me with their welsh stick chairs so I decided to make a start on a milking stool instead. This will be my first chair and I’m very excited about it.
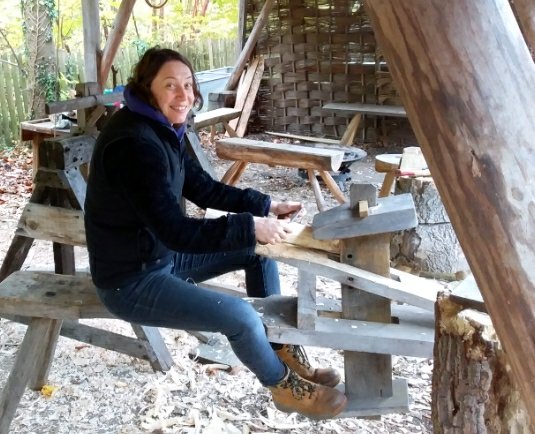
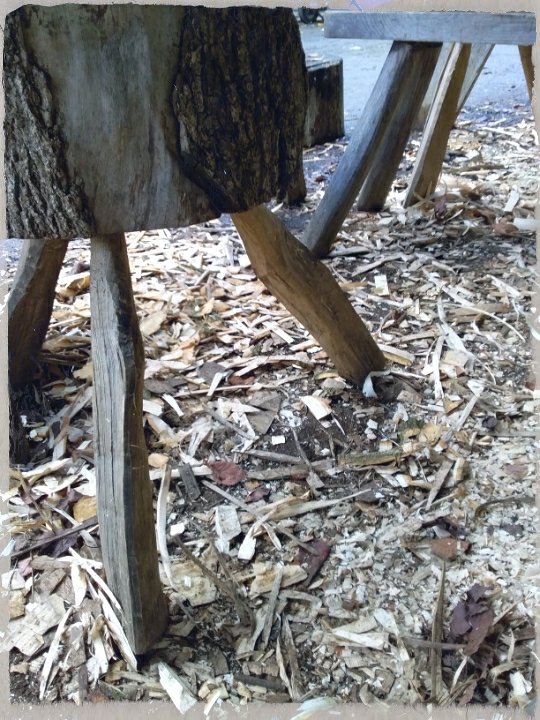
The first job was to cleave some ash into leg sized pieces. Next an axe was used to pare down the legs into a leggy shape, and prepare the end to be more or less the same size as a 1 inch tenon cutter. The legs were shaped further on the shaving horse with a draw knife.
To attach the legs to the chair I will be using green wood working. This means that I will dry the legs by a radiator for a few days then attach them to a ‘green’ seat. As the unseasoned green seat drys it will shrink around the legs, meaning that, apart from a few wedges, there will be no need for screws or nails. Ingenious!
I cut the seat out on a bandsaw and its ready to go once the legs have dried.
One of the hard questions in coppicing is what to do with all the bits of hazel on a stool (that’s what the trunk that the new shoots grow from is called) that have grown all bendy.
Bendy rods (aka branches) can occur for a few reasons. It may be due to ‘browsing’ from wildlife such as deer. Muntjac deer are very common in the woods where we work and are a pain for coppicers. There are various ways that people use to stop the deer but the most effective it seems is building a huge blummin’ fence. My mentor and myself did speculate whether a stuffed lion or two might work well instead after I mentioned that my father used to be a taxidermist. If we try this I’ll let you know how it goes.
Another reason for bendy rods can be a lack of light. If the shoots have to compete for light with the standard trees (the trees that are left to grow to full size) then they’ll contort their way towards the light that is available. This can also slow growth which can lead to more twisty turny bits. A coppice works best without standards as the coppiced trees get the maximum amount of light but sometimes space is a premium and standards can provide firewood and also a more varied environment for wildlife. When standards are used/left they should only take up 40% of the canopy cover, leaving 60% of the sky still visible.
Anyway, I’ve digressed… Let’s talk about crafts!
Coppicers come up with many ingenious ideas for what to do with all the little bits of wood. Products such as whistles or pencils are popular as well as gypsy flowers and even little christmas decorations.
Over the last few months as I’ve been preparing for the apprenticeship I have also been wondering what I could make with all those little bits. I decided that, however bendy a rod, you can always make disks and a disk is a very useful shape indeed.
My inventions so far have included ‘tree hanging’, bracelets and bowels, all made partly from discs or small bits of sticks. I’m keen to use as much of the stuff we cut down – apart from whatever would be beneficial as habitat homes – and find as many uses as we can. My mentor is also keen on this practice. After drilling holes in some candle holders we decided that the shaving were too good to throw and thought about how they could be used (we decided perhaps some kind of delicate flower decoration).
The level of creativity in this is endless when your base material is the humble stick!
One of the many things I’m looking forward to during my apprenticeship is meeting the various local coppicing communities. Coppicers tend to work alone as sole traders and this means that networks are an important way for local coppicers to meet and share skills and stories.
This weekend I had the honour of being invited along to one of the East Anglian Coppice Network events being held at a woodland owned by Iain Loasby. I met Iain after discovering his shop just up the road from me in London. When I came across his shop a year ago I was intrigued by this strange shop that seems to being selling a variety of sticks. When I won the national coppicing apprenticeship I was delighted to remember this shop and realised what a treasure was on my door stop. Although the name would suggest otherwise, Wood Green was the last place I’d expect to find a coppicers shop.
So a few weeks ago I eagerly presented myself to Iain as a fledgling coppicer and was invited along to the network event.
On the agenda this time around was Besoms Brooms and Traditional Rakes. Both of these, especially brooms, are a staple for coppicers and although not used as much for their originally purpose still attract customers looking for a nice item on their wall.
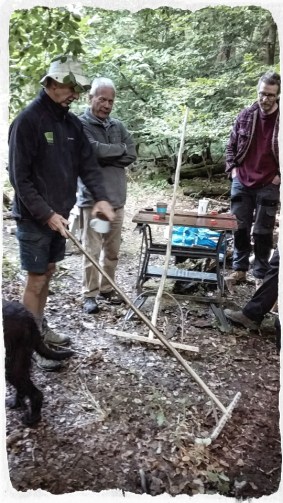
Andy and Paul showing us different types of rakes
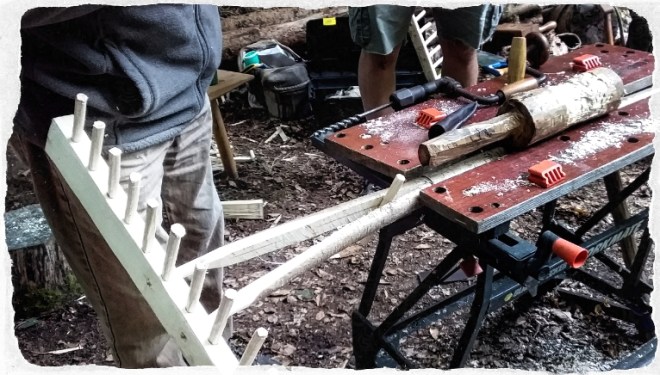
First up was Paul, a newly retired coppicer, who showed us how to make an ash rake. Rakes often come with regional differences and can use a split handle or a flexible piece of hazel to brace the head. I believe in this case we were being taught the Suffolk way of putting a rake together.
Before anything else you need a nice piece of ash around 6 – 10cm in
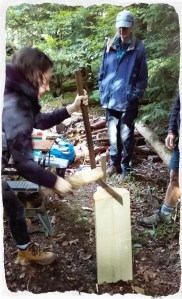
splitting the Ash log
diameter to make heads. We were lucky enough to have a lovely piece of ash that split beautifully and I was assured it wasn’t always this easy.
Once you have a rough size its time to use a shave horse to take the bark off and turn it into a lovely smooth piece of wood. Paul chose to ‘batter’ his heads which is a bricklaying term that means making the top of the head thinner than the bottom, but Andy, another coppicer at the event didn’t think this was necessary.
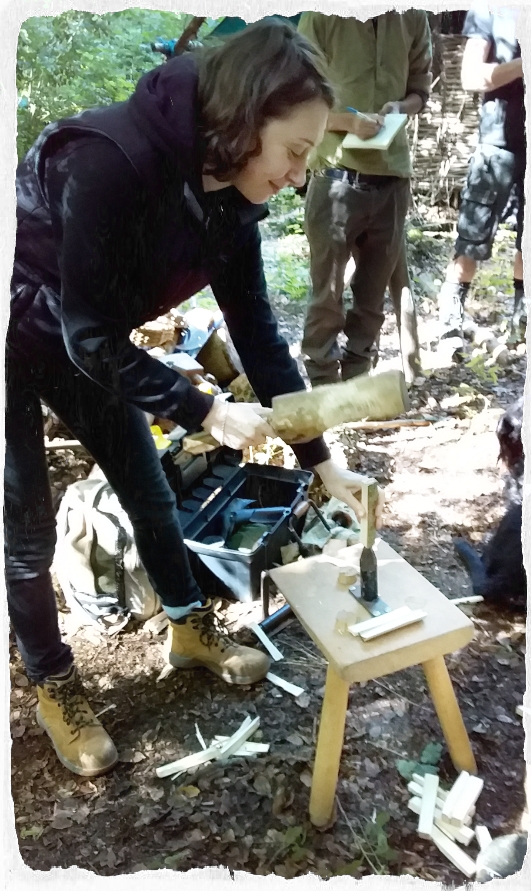
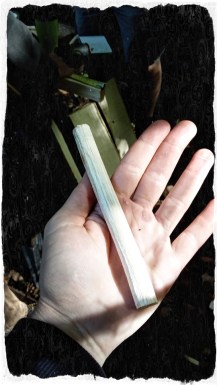
Making the pegs was an interesting process. First a piece of tree truck the same length as you want your pegs was split into tiny pieces, using an old inner tube to hold the wood together, then these pieces were jammed through a piece of metalwork called a tine cutter. Apparently its useful to have a splayed end on your tine cutter so that the tines don’t get stuck as they push through the hole.
One of the great things about the day was getting these sorts of little hints and tips from the experienced coppicers. “Throw the mallet instead of hit it” was advice from Andy which stopped my wrist hurting so much, and “aim for down here” was more great advice from Paul as he pointed to half way down the piece of wood I was preparing to split with a Froe (a type of wood splitting tool).
After the tines/pegs were made the next task was to drill holes into the head. Paul suggested using a ‘green’ head (a piece of wood that hasn’t been seasoned) with seasoned pegs. This would mean that the head would season and shrink around the pegs, holding them into place.
The pegs were then shaved down on two sides and bashed in with a mallet. Next we needed to choose a handle and split the end. A rake handle can be quite long and needs to be straight as possible but can have some wiggles* in it for character. After the handle and head are fixed together copper nails were used to keep the head and handle together.
joining the head and the handle together
Another handy tip to remember was to drill a hole at the end of the split and wrap some wire around to keep the split from going any further.
Besom Brooms
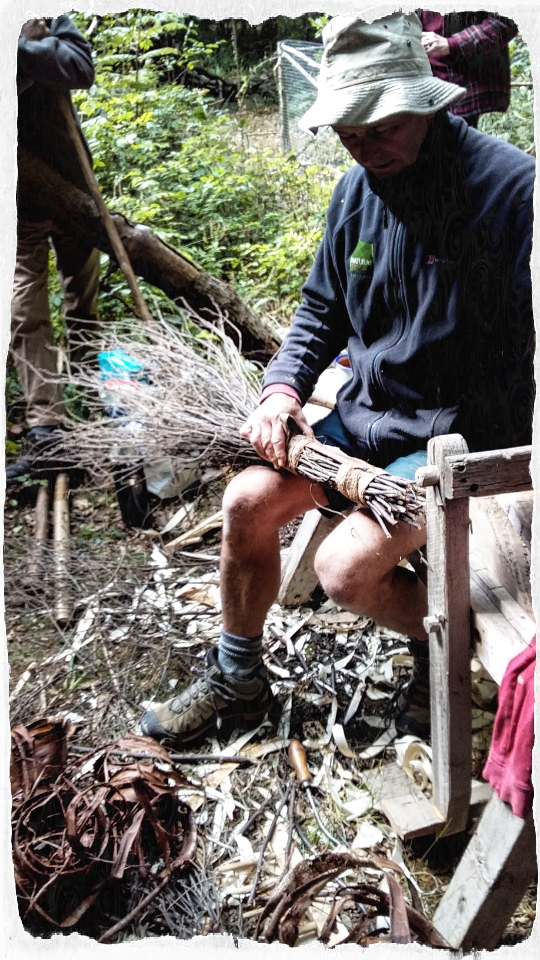
Andy showing us how to bind birch sprays with elm bark
In the afternoon it was Andy Bashem‘s turn to show us how to make a good broom. I’ve already helped my mentor Mark to collect birch ‘sprays’ (birch sticks) so it was interesting to see the next step in the process.
Andy chooses to make all natural brooms without any metal parts as this seems to appeal
more to witches. No, this isn’t a joke. Apparently wiccans use besom brooms to clear old spells from ritual spaces but the brooms mustn’t contain any metal. This is the kind of vital information passed on during networking events. There is also an aesthetic reason for a wireless broom but it does take much more time to make.
One starts off by grabbing a handful of birch sprays then moving them around until all the bottoms of the twigs are lined up. You need a bit space to wrap around your binding material so any twigs that are in the way are pruned. When your happy with your bundle of birch sprays you can then start the wrapping process. In this case we used some Elm Bark that Andy had had in his barn for a couple of years. To refresh it he simply soaked it in water for a couple of hours the night before and the bark became flexible again like leather.
Once the binding was on tight we then drove a sharpened stake through the middle of the bundle and used a wooden peg to hold the handle in place. The peg is important to stop the twigs and the handle from separating and the customer being left with a very sharp stick in their hands. A good handle can also increase the price of a broom if it has special features like twists. Andy didn’t try to make the broom look all the same and believed that as people are all unique then the difference in the brooms would appeal to different people. As I didn’t pick up enough birch I was pleased to hear this and declared my very small broom a special camper van sized broom to fit into tiny houses just like my own. The broom was then bound with baling twine so that when the twine was removed in a few days the broom would maintain a slimmer shape.
Overall I had a lovely day with the East Anglian Coppice network. I raked in the knowledge and wasn’t swept away by all the new information at all.
I hope to visit some of the members coppices over the next few years and plan to join them at another event soon!
*I’ll develop my technical terminology as go – but in the mean time i’ll be making up my own…)
 se. The basket base is quite a tricky technique to teach and learn and it is challenging to notice when peoples frustrations come up and not meet them with my own frustration of worrying if i’ve asked too much of them! Some people however get the techneque easily so it seems that its a case of working out peoples different styles of learning and supplying images as well as words and demonstrations to help people understand what they need to do. And, for myself, learning to stay calm and patient so I can articulate myself in ways that encourage persistance.


 Over the last two weeks I have been chief elf for one of my mentors Dave Jackson AKA
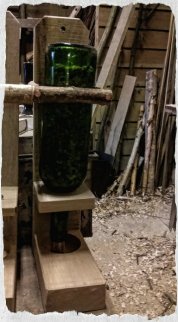 products to work on were the bird feeders. One was designed to hold an apple and the other used recycled wine bottles to hold some birdseed. I’m keen to learn traditional skills but I’m glad to have some experience in making high end products that create coppiced products with a modern twist.
 them down to £15. Once they started flying off the shelf… he creeped the price up to £18. This didn’t effect the sales but he wasn’t sure they would break the £20 mark so he kept them at this price and managed to almost sell them all. Experimenting like this seems really useful on a weekend market where you have three days to try and understand your customer and work out what they are willing to pay.


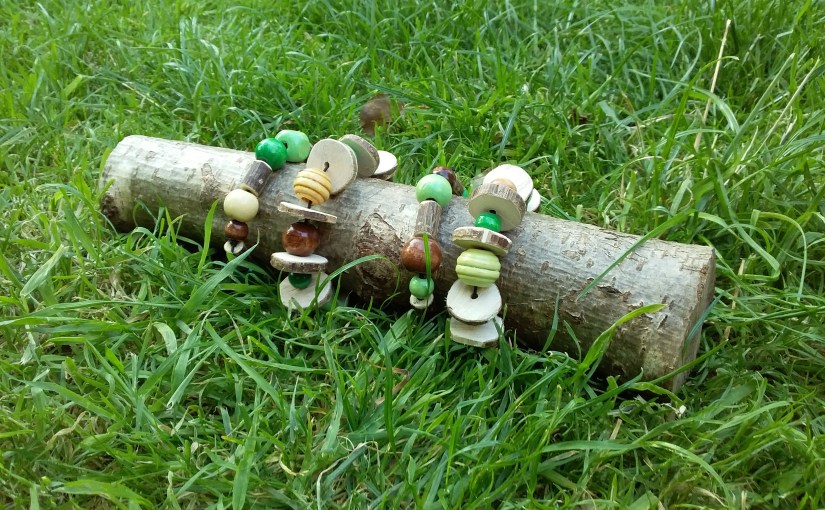
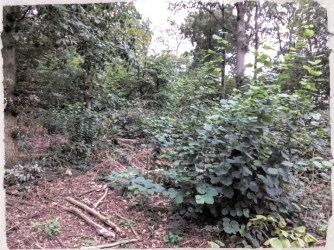


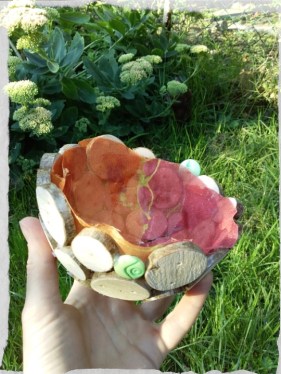 e also been wondering what I could make with all those little bits. I decided that, however bendy a rod, you can always make disks and a disk is a very useful shape indeed.