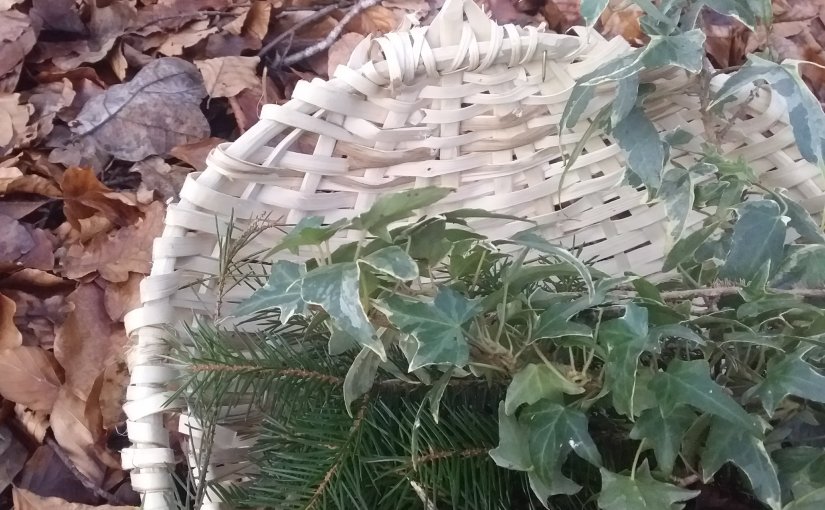
Split Hazel Baskets

Belated happy new year to all!

It’s been a slow start to the year with lots of time needed for resting and recovering from back to back bugs.  But now the end of the month is here I’m back on track and ready to begin the year in earnest.

It’s not all been long naps and lemons and ginger tea, I have also been pottering away and making lots and lots of split hazel baskets.

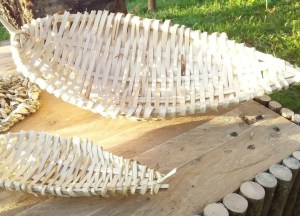
The technique, historically popular in Wales, was shown to me over the summer and since then I’ve been hooked.  Every part of the process is enjoyable and has a unique set of skills to learn.
wp-1580221008188555527805.jpg

Using a hazel rod to make a basket can be very efficient.  Every part of the stick can be used to make different aspects of the basket such as the frame, the weavers and the ribs, so, apart from a pile of shavings, you’re not left with much waste.  This is handy because suitable hazel rods for basket making are fairly old compared to their willow counterparts, which in my opinion, makes them a much more valuable resource.
wp-1580221008002323208672.jpg
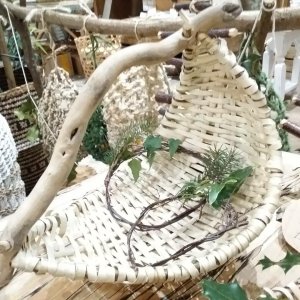
Gathering basket with driftwood handle

The best sticks for making hazel baskets are the slow growing sunshoots that grow on overstood hazel (hazel growing under heavy canopy cover from other trees) and so these can be up to 10 years old even though they are the same width as a 4 year old rod grown in the sunlight.  The thing to remember is that an overstood hazel tree needs its sunshoots, so to protect the tree from damage only one or two rods can be taken from each tree, and only if they have a few others to keep them going.

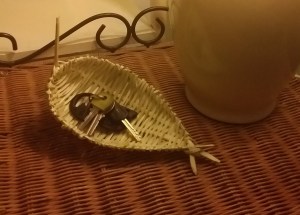
I’ve been working in miniture mostly so that I can save even more resources.  This often means I can practice making a basket with just one rod.  its more fiddly and takes a bit longer to prepare the material but they turn out well and look cute.  The one issue with selling this kind of things is that because it is smaller customers assume it will be cheaper.  This isn’t the case at all as it takes just as long to make a smaller one because of the fiddliness!
wp-1580221008376629554434.jpg
Having fun with miniture baskets

If you would like to know how to make a basket then I can highly recommend Lewis Goldwater and Zed Outdoors youtube video on how to make a split basket.  It is a mega video at about 4 hours long but well worth a watch and has a timestamp in the description so you can go to a specific part.

Later this year I will be working with Ruth Pybus who is a master split hazel basket maker and also hope to display some of my baskets at the Oxfordshire Basket Makers annual basketry exhibition.


A Nice Day Out

One of my passions in life is getting people back into the woods.  It is so important, not only to encourage people to spend time out side, and away from cities, but also to get people working outside.

As a consumer culture we often experience the woods as just another nice day out.  But this kind of relationship can create a sense of seperation from our enviroment and bring on feelings of detachment.  We become outsiders peering into an alien landscape meant for other living things that we call ‘nature’.  What we seem to have forgotten however, is that we are part of that natural environment!  Before the onset of agriculture, and more recently indistrial civilisation, the woodland was our home for thousands, if not millions of years.  But fear not.  This sense of oneness returns when one engages directly with the woodland environment through hard graft.  The primal instinct and ancient connection reemerges.

20190223_121625967898869.jpg

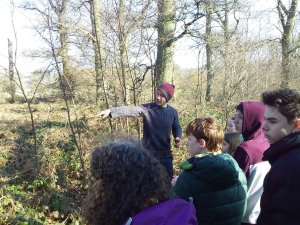
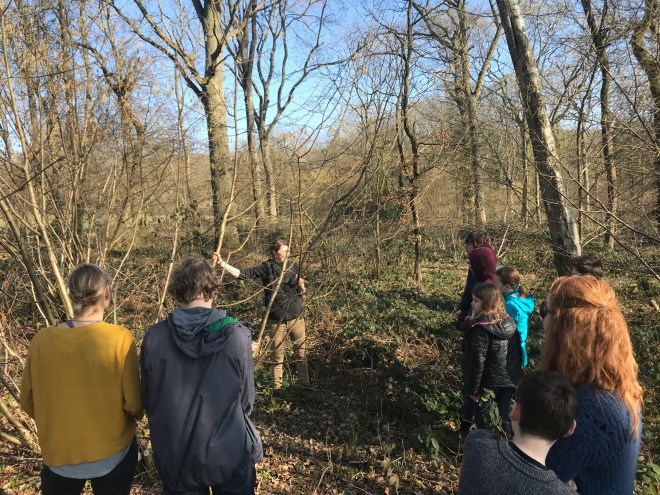
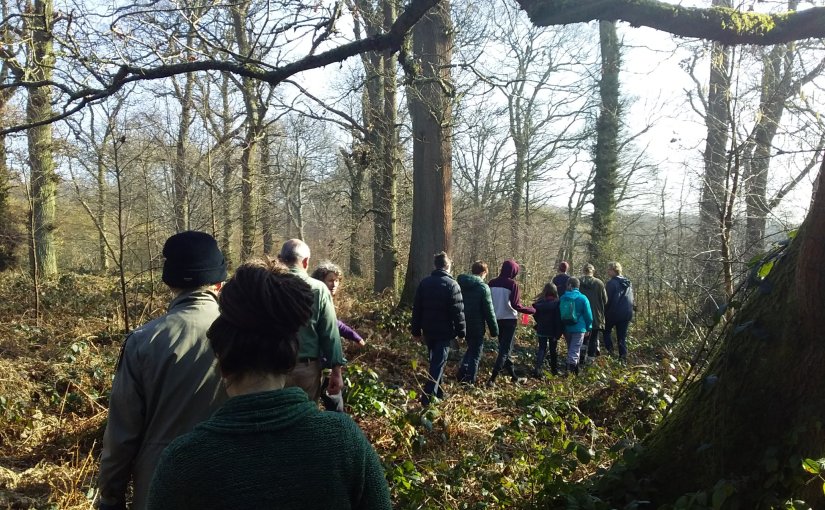
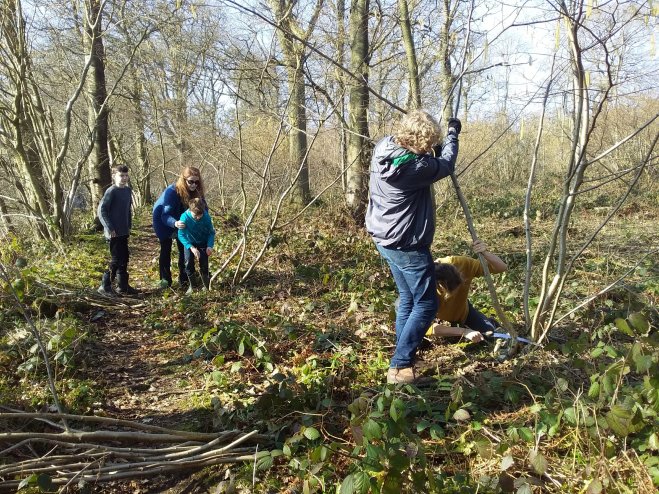
With this all in mind it was an absolute delight to put on my first community coppicing event.  For one unusually sunny February day 14 people had a chance to get their hands dirty and bring light and warmth back to the woodland floor, as has been done so previously for centuries.

Even better was the attendence of a local scout troop!  In the era of ipads and social media it was encouraging to see the focus and enthusiam of these children as they engaged directly with the work.  They loved it so much they were keen to know when they could come back again!  And, with the help of the other adults, all children left with complete sets of fingers, which I was very pleased about indeed.

20190223_1127251056308894.jpg

Coppicing is a perfect way to get people back into the woodlands and learning how important it is to manage this type ecosystem.  A coppice expects to be cut, and the more we leave them to overgrow the more, ironically, we damage the environment.  A coppice also lends itself well to volunteer work because of the simplicity of the work and the tools that are used.  Anyone who can use a pruning saw and some loppers can get involved.  And the more we get people involved the more we can send out the message that we have a great solution to managing our woodlands in a sustainable way and providing our communities with amazing, high quality wood based products.

IMG_7429


An Apprentice Elf

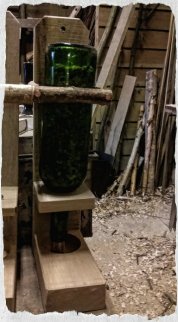
wp-15441763446781316172798.jpgOver the last two weeks I have been chief elf for one of my mentors Dave Jackson AKA The Stick Smith.  Dave is a master at coming up with creative ways to use coppiced materials such as hazel and oak and has a great range of modern products.  My favourite wp-154417650731966079487.jpgproducts to work on were the bird feeders.  One was designed to hold an apple and the other used recycled wine bottles to hold some birdseed.  I’m keen to learn traditional skills but I’m glad to have some experience in making high end products that create coppiced products with a modern twist.
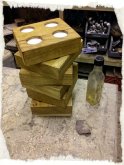
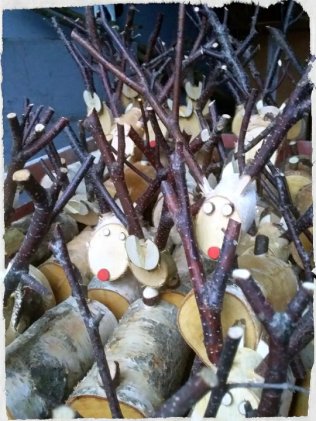
Dave also made reindeer, wreaths, Christmas decorations, whistles and tea light holders.

I asked Dave about selling at markets and if he had any tips on pricing.  Dave explained that he would adjust the prices depending on how well a product was selling.  For example the bird feeders were struggling to sell at £20 so Dave brought wp-15441764282691672721205.jpgthem down to £15.  Once they started flying off the shelf… he creeped the price up to £18.  This didn’t effect the sales but he wasn’t sure they would break the £20 mark so he kept them at this price and managed to almost sell them all.  Experimenting like this seems really useful on a weekend market where you have three days to try and understand your customer and work out what they are willing to pay.
 

Making a Chair Part One

wp-154110864399840540501.jpg
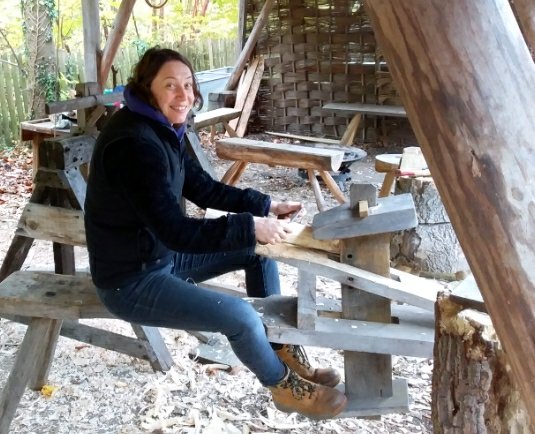
Me on a shave horse

Yesterday I had the honour of working with Small Woods Heritage Craft Officer, Neill Mapes.  Neill was running the fantastic Build A Bench workshop with a group of local people.  The group were already well ahead of me with their welsh stick chairs so I decided to make a start on a milking stool instead.  This will be my first chair and I’m very excited about it.

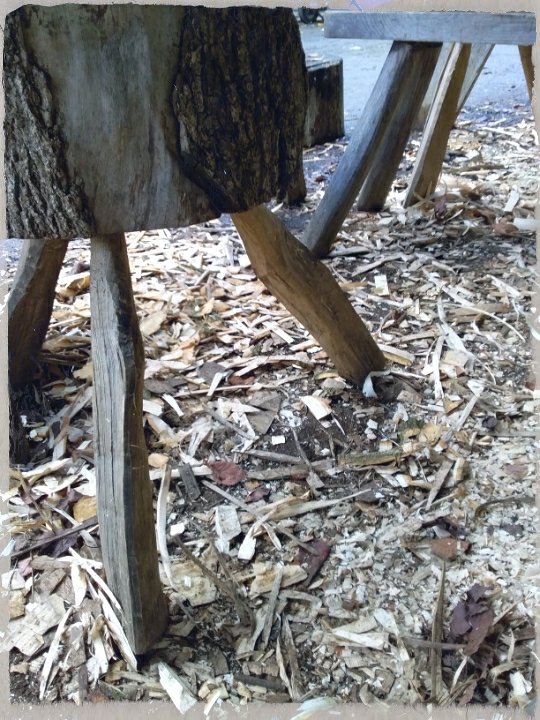
The first job was to cleave some ash into leg sized pieces.  Next an axe was used to pare down the legs into a leggy shape, and prepare the end to be more or less the same size as a 1 inch tenon cutter.  The legs were shaped further on the shaving horse with a draw knife.

To attach the legs to the chair I will be using green wood working.  This means that I will dry the legs by a radiator for a few days then attach them to a ‘green’ seat.  As the unseasoned green seat drys it will shrink around the legs, meaning that, apart from a few wedges, there will be no need for screws or nails.  Ingenious!

I cut the seat out on a bandsaw and its ready to go once the legs have dried.

wp-15411088473351334791125.jpg
lots of legs