Basket Club!

As my apprenticeship comes to a close it is time to start thinking about how I’m going to take my new skills out into the world and make a living.  If you’ve been following this blog then you’ll know that I have a slight basket addiction so it seems proper to use this enthusiam and share it with others.  I’m still learning myself so full blown basketry courses are still a little way off but in the mean time I thought i’d have a go at setting up Basket Club!
basket club

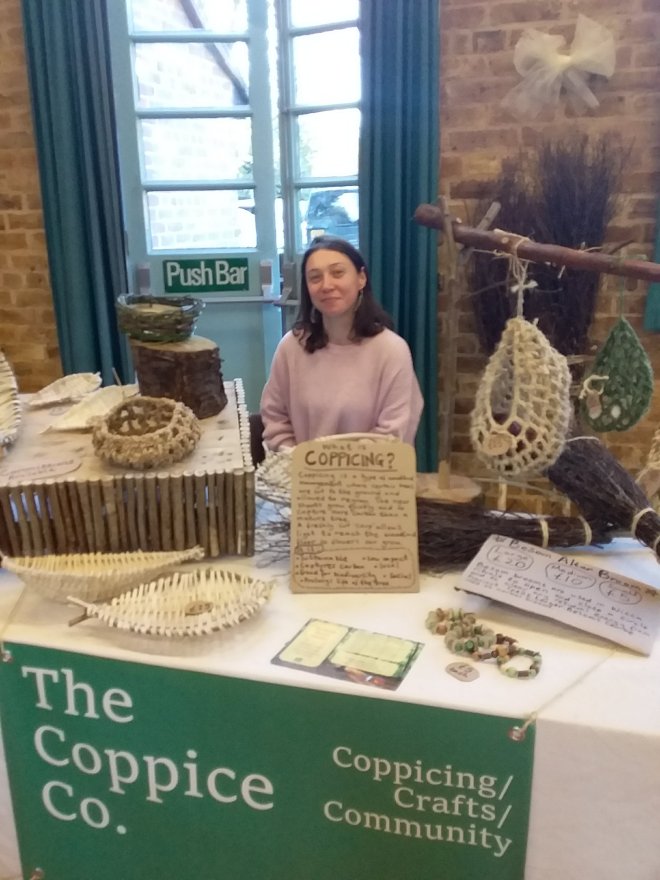
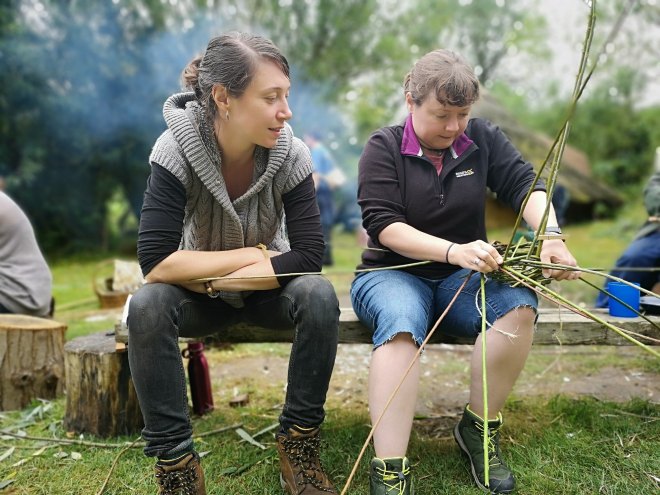
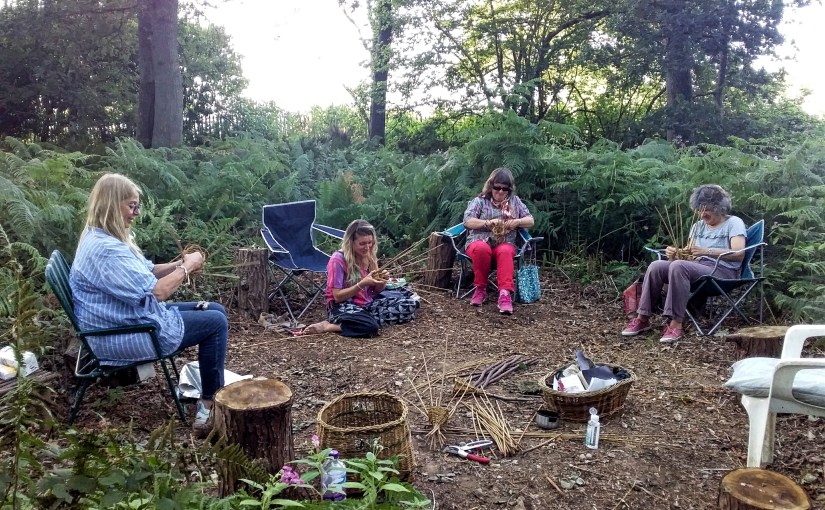
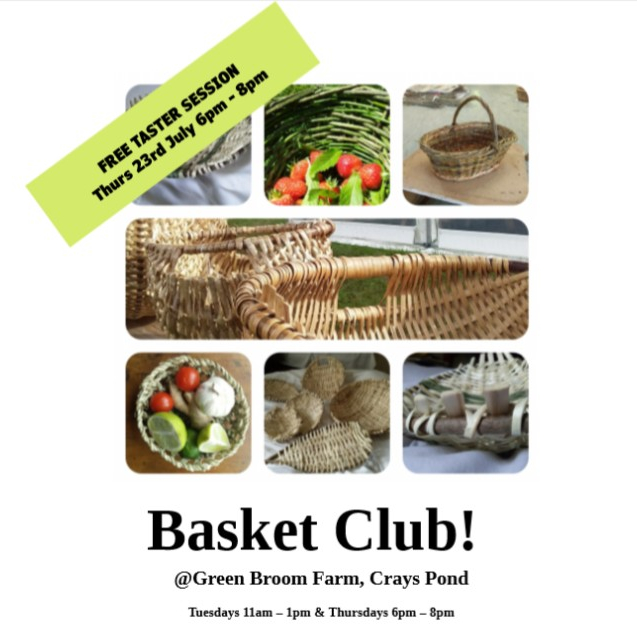
Basket Club! is a weekly 2 hr session where people can drop-in or sign up for a 6 week bundle of sessions.  The idea behind Basket Club! is to invite local people to come and spend some time in the woods, meet their neighbours and have a go at simple weaving projects.

After the isolation of lockdown it feels like the right time to get people back outside and back spending time in groups. Weaving is also a great mindfulness tool to help focus the attention on something other than the concerns of our daily lives.
IMG_9860[10907]


I’m experimenting with how to introduce other mindful practices into the club and so far have been inviting people to choose a sense and focus on that sense as we walk through the woods from the car park to the seating area.  This has helped to calm the group but has also felt a little bit awkward as I have to ask people to be silent on the walk.  I’m aware that people who use chatting as a way to avoid discomfort may find this uncomfortable but I feel its worth persisting as it helps ground everyone in the present moment.

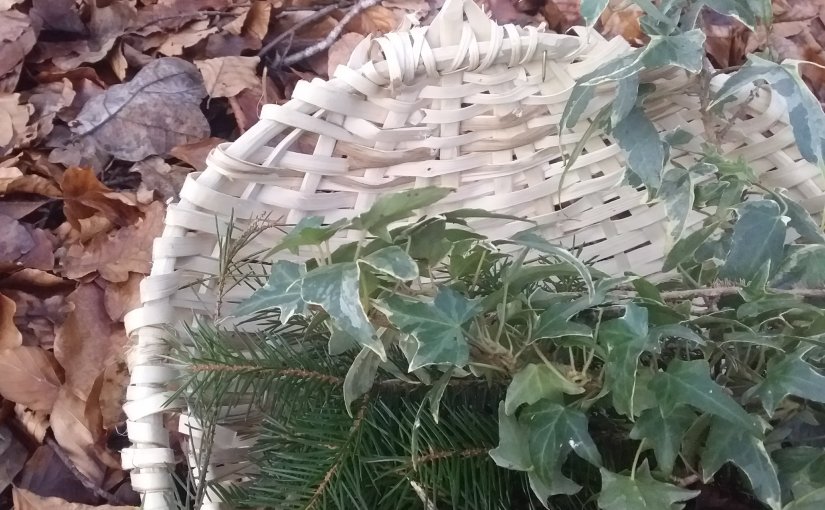
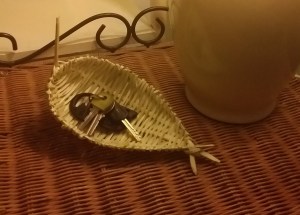
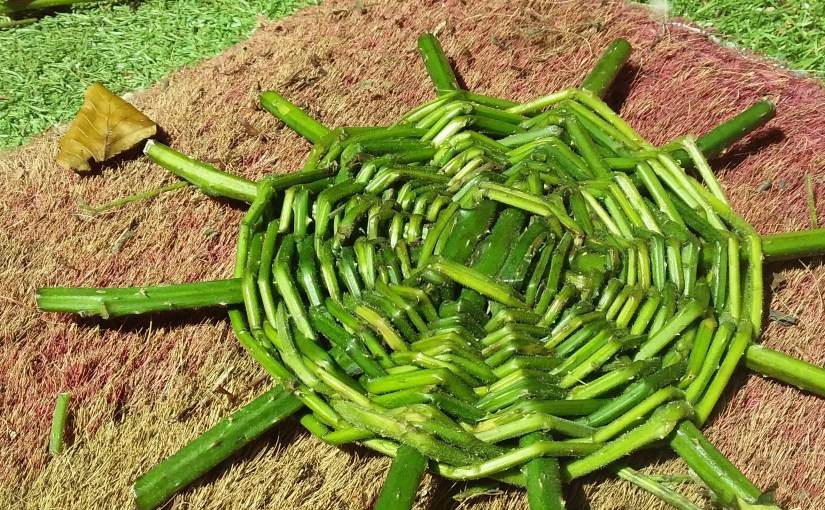
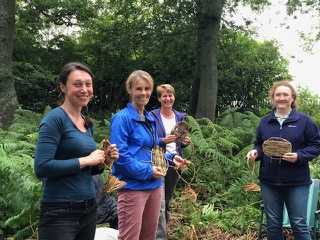
So far we’ve made birdfeeders and soap dishes and also had a go at making a basket baPixlr_20200810140247938se.  The basket base is quite a tricky technique to teach and learn and it is challenging to notice when peoples frustrations come up and not meet them with my own frustration of worrying if i’ve asked too much of them!  Some people however get the techneque easily so it seems that its a case of working out peoples different styles of learning and supplying images as well as words and demonstrations to help people understand what they need to do.  And, for myself, learning to stay calm and patient so I can articulate myself in ways that encourage persistance.
Its all a great learning curve and I’m really pleased with the uptake of participants as I’ve had full classes for each week and you never know, you might find a Basket Club! near you soon too!
What to do with Brash?

It’s been a while since my last post.  You may or may not have noticed, but there was this big virus thing and then the whole world turned upside down for a moment, so its been a bit chaotic recently.  Luckily for me, however, I live on a farm so the time at ‘home’ gave me the chance to really settle onto the land and practice a few new skills.

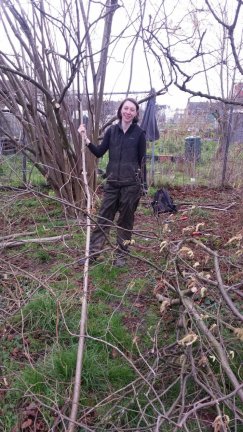
The farm has a small coppice and they have allowed me to work on it for the last two years.  Even though it is heavily overstood (lots of big trees above) there are still some very nice trees to work with.

However, because it’s a restoration project we always end up with big piles of brash.

The question of what to do with the brash is usually answered with a chipper or a fire.  However, it has always seemed like a waste of material to me and throughout my apprenticeship I’ve been interested in other uses for it.

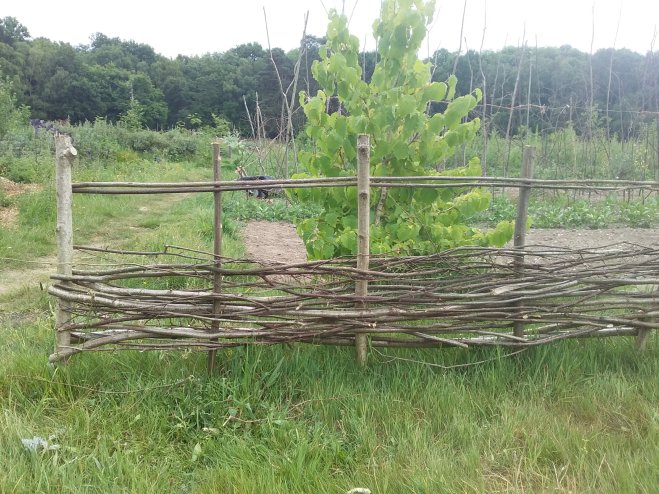
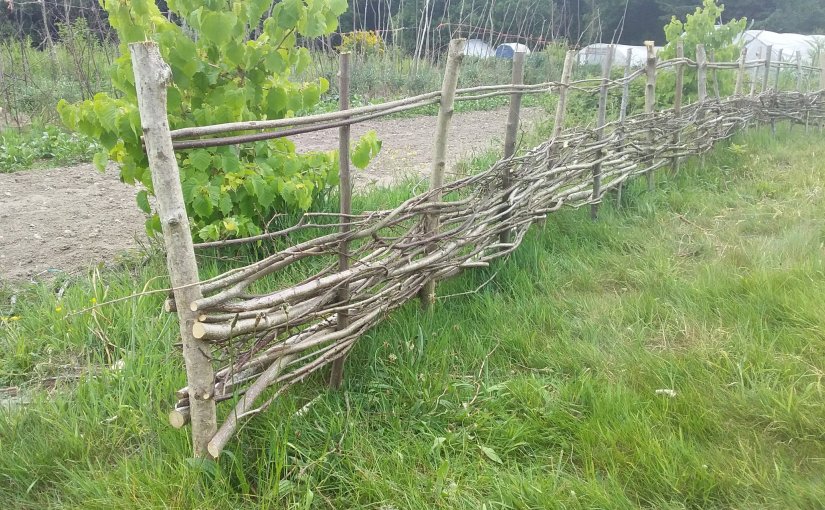
This year I thought I’d have a go at making a ‘rustic’* fence with it.  Many of the branches were not good enough for pea sticks or bean poles but were still straight enough and long enough to be able to weave with once the side branches had been removed.

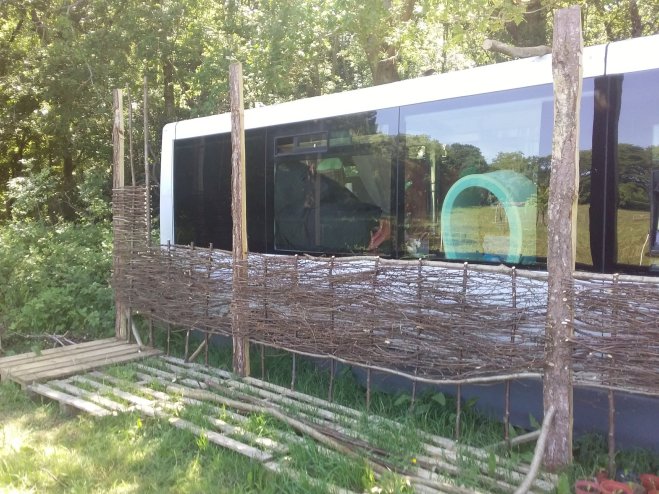
Two fences have been made on the farm over the last two months.  One to seperate the football pitch from the growing beds and one to help my big white bus blend into the background in its new temporary spot on the field.

The first fence needed to be sturdy so I put stakes in the ground, about 4ft long (1ft in the ground) and 1 1/2 feet apart, then screwed in a rail at the bottom to hold them all together.  This rail also holds the weaved material off the ground so that the brambles can be easily cleared around the bottom of the fence.  The long bits were weaved and then the fence was finished with some binder quality lengths to create a top rail design.

wp-1592064704952322716265.jpg

The second fence didn’t need to be as sturdy but did need to cover the white parts of the bus so in this case I used the more brashy ends of the branches to create a thicker screen.  I took two or three branches and squished them so they made an elongated shape and weaved them together, alternating the direction of the weave every two lengths.  This made a lovely bushy screen that still had the delicate dried buds attached, making a lovely design feature.

wp-15920646989951409687528.jpg

I’m very grateful to one of my sponsor businesses, The Stick Smith, for teaching me the basics of willow weaving on a large scale.  We did several garden fences when I was working with Dave and I picked up how to create an even and thick weave and finish off the job nicely with a little pruning.

My next fencing project is for a community project in London where I will be fencing off an area of fruit trees.  If your ever down at the Lordship Rec in North London come and check it out!

*Top Tip: ‘Rustic’ can be applied to anything that looks a bit rough but is charming because of its roughness.

Inner City Life – Inner City Coppice

One of the more romantic thoughts I’ve had over the years is that one day, after all my travels, after all the things I’ve learnt in the world, that I would be able to return to my home and use my new skills to benefit the community in some way.  Its the crux of the hero’s journey.

Most people however, myself included, don’t really fancy moving back home.  Especially when that home is in the middle of a big smelly city with extortionate rent and house prices.  However, because I’m reliant on my home being able to move – I live in a minibus – I periodically find myself back at my childhood abode in North London while my own home is at the garage.

I’m having one of those homecomings this week and in a wonderfully serendipitous way have come across a lovely little coppicing project in a park near to where I grew up.

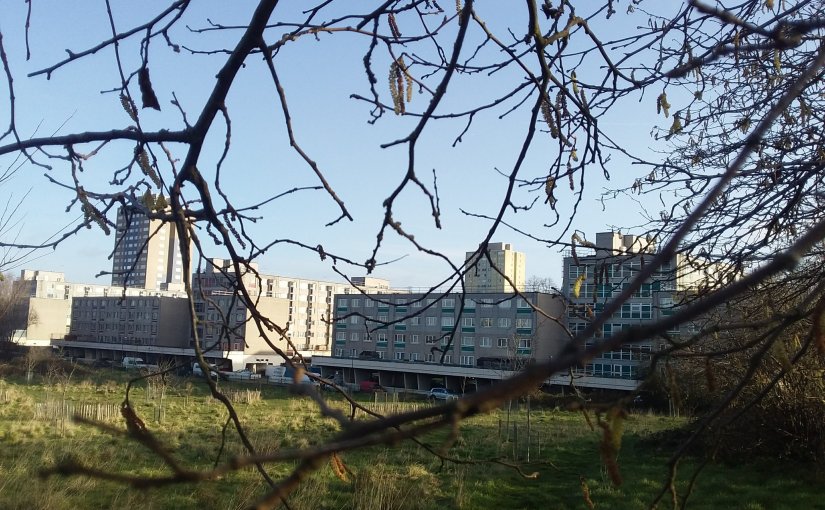
The park is called The Lordship Rec and is a city haven for humans and non-humans alike.  After a tremendous amount of work and passion from the local people, the Friends Of Lordship Rec managed to get a substantial amount of funding from the National Lottery.  This has allowed them to transform the park from the dilapidated green space of my childhood into a thriving centre of activity with a number of different habitats for wildlife, including a small copse.

wp-1580918138689336612297.jpg
The row of hazel trees with Broad Water Farm Estate in the background

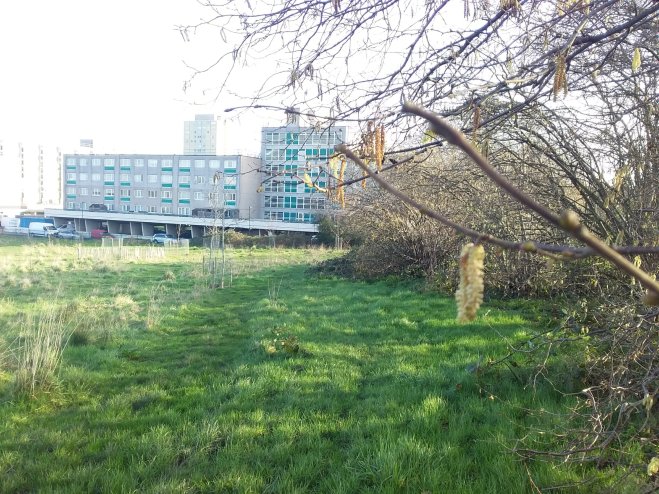
The hazel trees in this ‘copse’ (the name for an area of coppiced trees) look like they were previously a hedge but have not been managed for a decade or two.  This has lead to big bushy trees with dozens of branches and stems crying out to be coppiced.  Although the strip only has about 30-40 tree in it they still offer a chance to demonstrate coppicing to the local community and give them a chance to have a go themselves.

Right next door to the park is the infamous Broad Water Farm that was became known nationwide during the riots in the 1980’s.  Since then money and energy has been invested in the site and with the effort of the Broad Water Farm community and the local council its become an almost crime free area.

wp-1580918138485306080696.jpg
Keeping fit cutting all these 20 year old stems with hand tools

Even so, as with all areas, there are still a number of teenagers knocking about finding entertainment in spraying graffiti and making small fires.  As well as these bored teenagers are a number of residents suffering from the mental health problems that often come with modern city life and who could benefit from spending some time outside.

After speaking with a local housing support officer its clear that there is scope for some interesting woodland projects at the park that could really benefit the community at Broad Water Farm and the surrounding area.  As well as the hazel trees there is also a small woodland that has lots of work to be done.  So this could be a great spot for a little social forestry project.  They also have a cafe with spaces that can be hired out for workshops in a straw bale building.  While its early days for me, and taking groups out on my own is still a bit daunting, this looks like it could a be great future project to get involved in.

In the mean time I’ll be helping to get these lovely hazel trees back into rotation with a volunteer or two and bringing the skill and knowledge of coppicing back home to my local community.


(Note: Special thanks to The Friends of Lordship Rec, especially to Sally Haywell, who is in charge of the orchard in the park, and has been enthusiastic about getting the hazel back into rotation and letting me have a play.)

Split Hazel Baskets

Belated happy new year to all!

It’s been a slow start to the year with lots of time needed for resting and recovering from back to back bugs.  But now the end of the month is here I’m back on track and ready to begin the year in earnest.

It’s not all been long naps and lemons and ginger tea, I have also been pottering away and making lots and lots of split hazel baskets.

The technique, historically popular in Wales, was shown to me over the summer and since then I’ve been hooked.  Every part of the process is enjoyable and has a unique set of skills to learn.

wp-1580221008188555527805.jpg

Using a hazel rod to make a basket can be very efficient.  Every part of the stick can be used to make different aspects of the basket such as the frame, the weavers and the ribs, so, apart from a pile of shavings, you’re not left with much waste.  This is handy because suitable hazel rods for basket making are fairly old compared to their willow counterparts, which in my opinion, makes them a much more valuable resource.

wp-1580221008002323208672.jpg
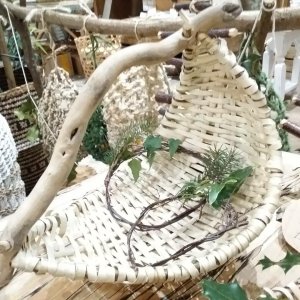
Gathering basket with driftwood handle

The best sticks for making hazel baskets are the slow growing sunshoots that grow on overstood hazel (hazel growing under heavy canopy cover from other trees) and so these can be up to 10 years old even though they are the same width as a 4 year old rod grown in the sunlight.  The thing to remember is that an overstood hazel tree needs its sunshoots, so to protect the tree from damage only one or two rods can be taken from each tree, and only if they have a few others to keep them going.

I’ve been working in miniture mostly so that I can save even more resources.  This often means I can practice making a basket with just one rod.  its more fiddly and takes a bit longer to prepare the material but they turn out well and look cute.  The one issue with selling this kind of things is that because it is smaller customers assume it will be cheaper.  This isn’t the case at all as it takes just as long to make a smaller one because of the fiddliness!

wp-1580221008376629554434.jpg
Having fun with miniture baskets

If you would like to know how to make a basket then I can highly recommend Lewis Goldwater and Zed Outdoors youtube video on how to make a split basket.  It is a mega video at about 4 hours long but well worth a watch and has a timestamp in the description so you can go to a specific part.

Later this year I will be working with Ruth Pybus who is a master split hazel basket maker and also hope to display some of my baskets at the Oxfordshire Basket Makers annual basketry exhibition.


Its Stall Time!

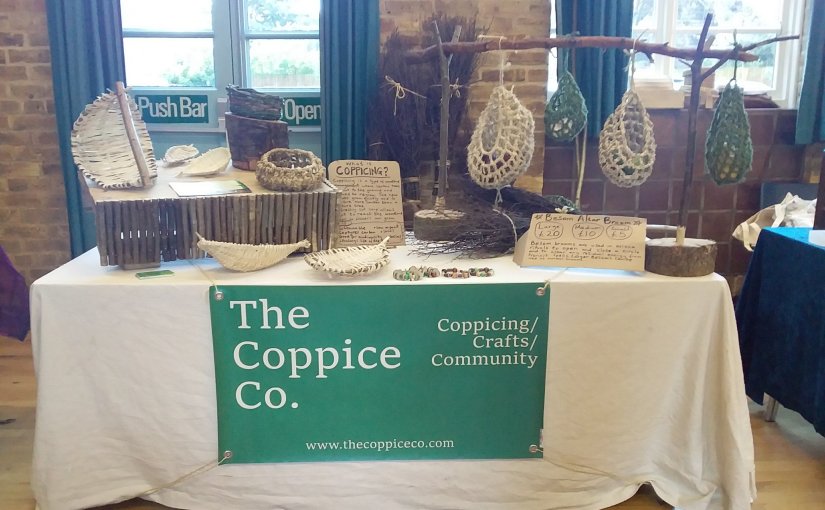
To pass my apprenticeship this year I am required to set up a stall.  Little encouragement is needed however because I love setting up stalls and playing ‘shop’!

I recently had my first opportunity through a new venture called the We Are Women Festival set up by Laura Currie to bring together women who practice various skills, mostly in the healing arts but also in the crafty arts as well.

It was a great opportunity to really shift gears and get things together for the coming year.

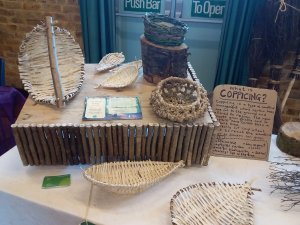
Part of setting up a stall is to create something that is visually appealing and shows off the products.  I love the colours that split hazel baskets offer.  Its creamy beiges with dark brown bark.  And this goes lovely with the green of my sign.

20191110_1050511270250142.jpg

Personally, I prefer stalls that are not too over loaded with different items.  When there is too much to look at I can find this overwhelming as my brain tries to focus on too many things at the same time and I’ll usually move away from those stalls fairly quickly.  So with this in mind I only set out a few different items, enough to make the table look full, but not busy.

Pricing is always a tricky one and I’ve had some great advice from my sponsor business such as adjusting pricing as the day or weekend goes on and listening to the potential customers as they browse – apparently they will be very open about what they think of your prices, even in front of you!

It can be difficult not to undervalue items because, as a crafter, I am competing with imported, mass produced items, and so it is difficult to charge what I should be charging.  A basket, for example, that takes 5 hours to make should be at least £50 but when a customer can go to a shop and buy a basket three times as big for a third of the price its difficult for them to understand why my basket is so expensive.

20191110_1027231432738718.jpg

One remedy to this is engaging customers.  I have a friend who is very good at engaging customers and selling her products without, it seems, selling them a thing.  She explains to them why her product is going to be beneficial for them and the product sells itself.  She sells creams and potions.  I sell baskets… it a tougher sell.  But what I did notice was that talking to the customers and explaining how things are made, why I make them and all about my apprenticeship got them interested in the items much more than just letting them look at the baskets.  Another remedy is to be making the item you’re selling.  This gives people an idea of the amount of skill and work it takes to make the items you’re selling and encourages engagement.

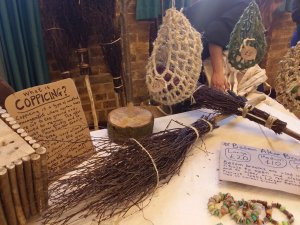
I did quite well at this market and I think this was because it was a niche audience.  Finding the right stalls may be more beneficial than just finding any old market day.  Because my products are sustainable, and with regards to the besom brooms, a traditional witchy item that is used in wiccan ceremonies, I will be on the look out for more specialised markets.

The next one coming up for me is a christmas market day at a local shop run by a lady who wants to encourage local crafts people who are using sustainable products.  This is a really exciting project to get involved with as it is part of an initiative run by the local council who will be offering free workshop spaces to people like me!

20191110_1136432139919450.jpg

Turning Into A Basket Case

The truth must be told… My name is Suz and I am a basket addict.  It’s been two weeks since my last basket and I’m already having withdrawal symptoms.

I made my first willow basket a few months ago at the Greenwood Centre with the lovely Rachel Evans of Wheatcroft Willow and the group agreed to start with a more advanced type of basket, an oval shopping basket rather than the easier round basket. At first I didn’t understand the pattern at all.  I felt a swell of frustration rise up but persisted and under Rachels’ fine tutelage she got me past the first hurdle and I left the weekend with a beautiful shopping basket.


It is a sign of an excellent teacher to be able to guide eight or nine people in making a full blown oval based basket, especially as some of us were first timers, and then have them go away with something decent.  I know this because, since the course, I have had a go at teaching and although I understand the technique and can make a reasonable basket shaped object myself, teaching others to do the same takes some skill.

My first attempt was to run a bramble basket making workshop at the farm where I often visit.  Everyone was eager to learn this skill, and cut back the ever encroaching brambles, and with only four others it was fairly easy to get the basic techniques across.  However, my second attempt, at the crafty Treehouse Festival, things became a little more tricky.  Firstly, we were using pieces of willow from a tree that hadn’t been pollarded in a while so all the lengths were trimmed from this years growth meaning they were short and branchy.  Secondly, everyone wanted to make a basket!  I kept the group down to seven but that was still a tough amount of people to work with, especially as I was keen to make my own basket as well.

me and kay

The art to teaching is to keep calm.  It requires projecting confidence onto your students and giving them the patience that they need to give themselves as they learn a new skill.  It requires empathy as one remembers ones own frustrations and keeping them focused on moving forward.  It requires the right language and turning that language into visual instructions.  No one will understand what you mean if you say ‘now this bit goes into this bit’  – as I soon discovered.  It also required a never ending enthusiasm to answer the same questions over and over again.  But with all that said, I loved every second.  Some people even went away with something that looked very much like a basket.  Both of these opportunities were invaluable and were great steps towards doing something I really love to do – to teach.

Playing with Fire

It’s almost summer so it must be time for charcoal making!  This week I was at Westonbirt Aboretum where Brian Williamson has been restoring their coppice and making, among many other things, charcoal.

20190604_092146
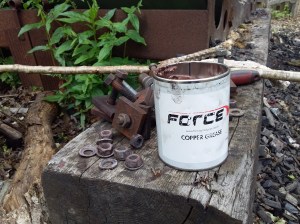
Copper grease is used on the bolts as normal grease would burn away at high temperatures.

Charcoal making has this air of romance.  I don’t know if its the plumes of smoke – that is actually mostly moisture – the site of people covered in black dust or the anticipation and skill in actually cooking the wood and not burning it all… or leaving it half baked, but it harks back to something earthy and oldy worldy.

In those olden days people would use earth mounds to cook their wood and this can still be seen at events such as Char Fest, which is hopefully being held again this year for new enthusisasts such as myself.  Up until recently the ring kiln was the charcoal makers tool of choice.  This involved lighting a fire inside the kiln and adjusting chimneys and vents to control the air flow and temperature.  It also involved climbing in the kiln to shovel out the charcoal… which, I am told, is a very messy job indeed!

These days we have a marvellous instrument called a retort.  Not only does it have an almost 100% converstion rate, (we only had two or three ‘brown ends’ – the name of undercooked wood – out of the entire burn) it also resuses the gases expelled by the wood as it cooks.  A fire is needed to start the whole thing off but when it reaches 420 celcius the retort will use the methane gas from the cooking wood and it becomes self-perpetuating until the gas has been used up.  And you don’t have to climb in the thing to get all the charcoal out.

20190604_165744
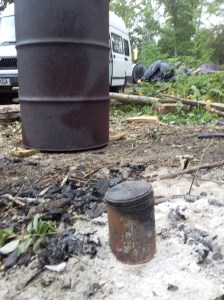
A tin can, an oil drum and a retort (you can just see the flame in the background)

I didn’t get a chance to try out the ring kiln but I did see how a retort, an oil drum and even a tin can will turn wood into charcoal and I’m looking forward to practicing the latter two when I get home.


“Why use charcoal?” I asked, hoping I wasn’t about to shoot myself in the business foot.  But Brian gave some good answers… charcoal burns at a hotter temperature, turns into embers quickly and has no smoke.  The charcoal that is made by local woodland and coppice workers also has the added benefit of being additive free, has reduced transport miles and of course it supports us woodland folk to support our woodlands.  Sounds good to me!


An Apprentice Elf

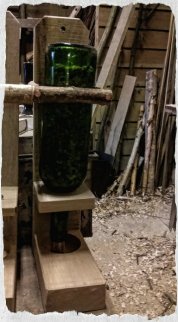
wp-15441763446781316172798.jpgOver the last two weeks I have been chief elf for one of my mentors Dave Jackson AKA The Stick Smith.  Dave is a master at coming up with creative ways to use coppiced materials such as hazel and oak and has a great range of modern products.  My favourite wp-154417650731966079487.jpgproducts to work on were the bird feeders.  One was designed to hold an apple and the other used recycled wine bottles to hold some birdseed.  I’m keen to learn traditional skills but I’m glad to have some experience in making high end products that create coppiced products with a modern twist.
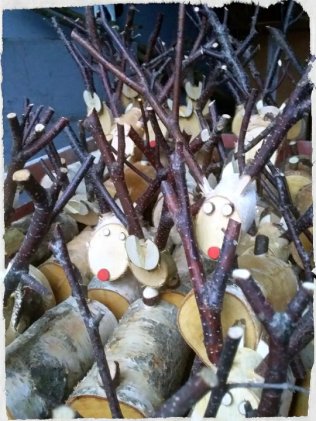
Dave also made reindeer, wreaths, Christmas decorations, whistles and tea light holders.

I asked Dave about selling at markets and if he had any tips on pricing.  Dave explained that he would adjust the prices depending on how well a product was selling.  For example the bird feeders were struggling to sell at £20 so Dave brought wp-15441764282691672721205.jpgthem down to £15.  Once they started flying off the shelf… he creeped the price up to £18.  This didn’t effect the sales but he wasn’t sure they would break the £20 mark so he kept them at this price and managed to almost sell them all.  Experimenting like this seems really useful on a weekend market where you have three days to try and understand your customer and work out what they are willing to pay.
 

Making a Chair Part One

wp-154110864399840540501.jpg
Me on a shave horse

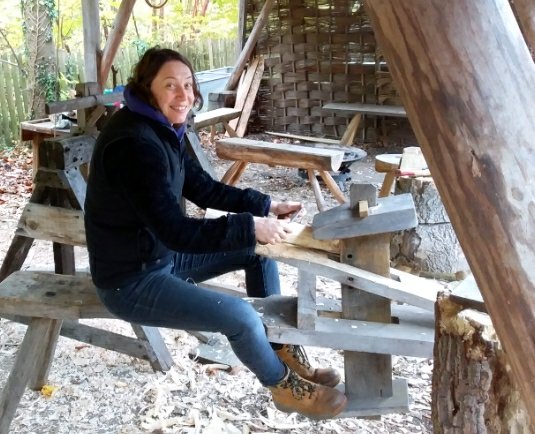
Yesterday I had the honour of working with Small Woods Heritage Craft Officer, Neill Mapes.  Neill was running the fantastic Build A Bench workshop with a group of local people.  The group were already well ahead of me with their welsh stick chairs so I decided to make a start on a milking stool instead.  This will be my first chair and I’m very excited about it.

The first job was to cleave some ash into leg sized pieces.  Next an axe was used to pare down the legs into a leggy shape, and prepare the end to be more or less the same size as a 1 inch tenon cutter.  The legs were shaped further on the shaving horse with a draw knife.

To attach the legs to the chair I will be using green wood working.  This means that I will dry the legs by a radiator for a few days then attach them to a ‘green’ seat.  As the unseasoned green seat drys it will shrink around the legs, meaning that, apart from a few wedges, there will be no need for screws or nails.  Ingenious!

I cut the seat out on a bandsaw and its ready to go once the legs have dried.

wp-15411088473351334791125.jpg
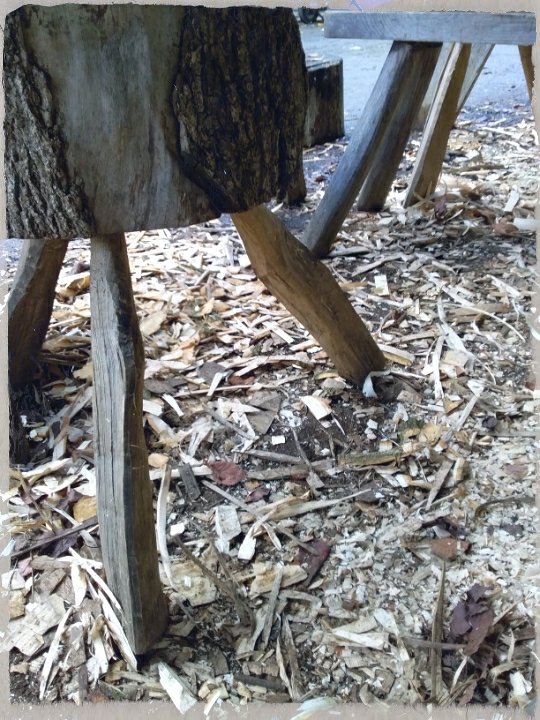
lots of legs


The National Coppice Federation Gathering 2018

wp-1539720532578975038844.jpg
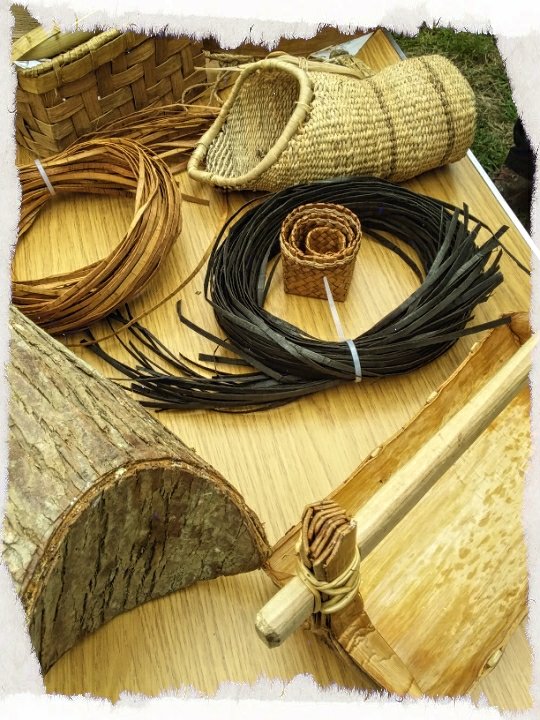
products made from bark

Not everybody would be excited to talk about coppicing for a whole weekend but I certainly was.  So it was a delight to attend the National Coppice Federation on their annual gathering in Hampshire.  Each year one of the regional groups takes the baton and hosts the get-together which, although relatively small, is one of the only chances that members of the coppicing community have to meet up.

Some people arrived on the Friday and met old faces and new.  Then, on the Saturday, we had a chance to see some of the local craftsmen practicing their skills alongside two demonstrations of retort charcoal makers.

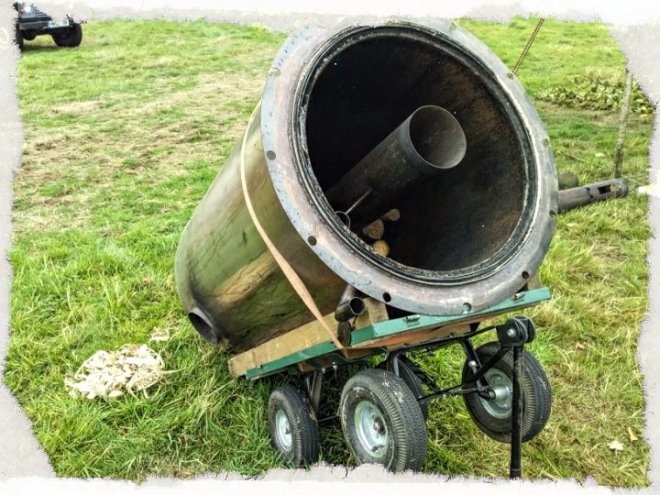
A retort charcoal maker, as opposed to a ring kiln or an earth mound kiln, uses the volatile gases that the wood itself gives off when its burnt and redirects it back towards the fire.  This means that once the retort has heated up enough it will keep itself alight until all the gases burn off.  And because that gas is used up it no longer gets pumped out into the atmosphere.  wp-1539720425278381605499.jpg

wp-15397204665771782014684.jpg
James Hookway showing us how it works

I took a particular interest in the smaller retort that was basically a giant rocket stove.  The designer was a gentleman called James Hookway and this was his own unique design that, although small, was portable and very easy to use.  This retort was just the right size for someone just starting out in the charcoal making business or looking to just use the unproductive wood that is no good for products or leaving as insect hotels.

During the gathering we also took a trip to a local sweet chestnut coppice at Stansted Park Estate and was kindly shown around by the head forester Michael Prior.  Michael had been working at the estate for 38 years and although they had an extensive sweet chestnut coppice he was also keen on biodiversity and you could tell he enjoyed his job very much.

wp-1539720697875646386209.jpg
Dave Lister demonstrating thatching spar making

The NcFed gathering was also a chance to network and meet other people who you could connect with and either share skills, news or work.  For me it was just nice to be around people who knew what coppicing is!  Most of the time a get a very blank stare when I tell people I’m doing a coppicing apprenticeship.  Hopefully groups such as the NcFed will change all that in times to come.